Classic Blt Sandwich
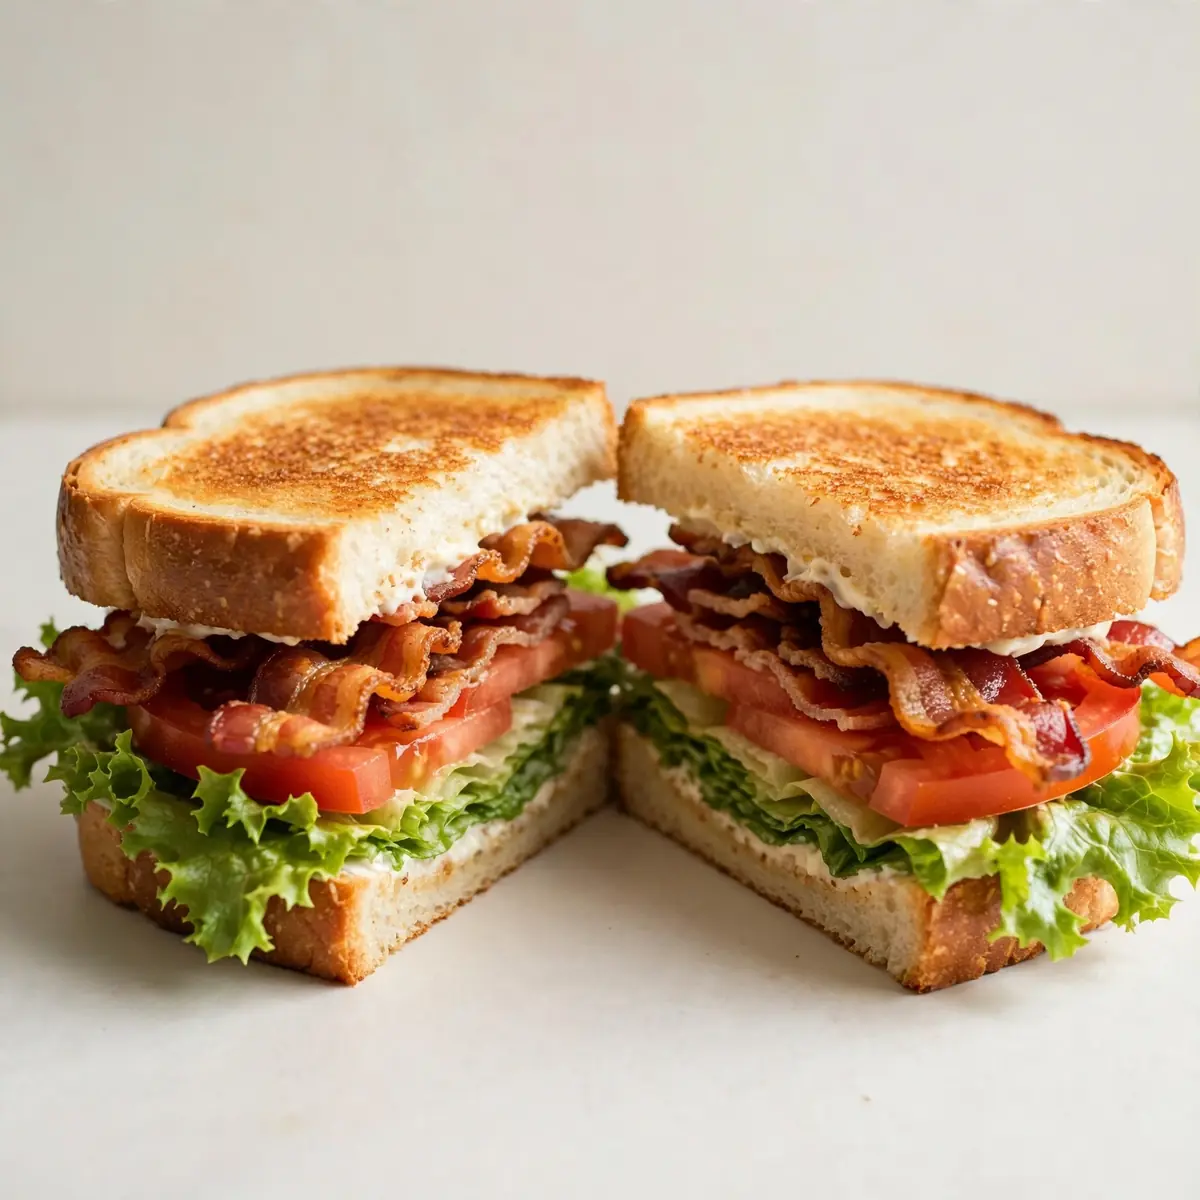
There are few things more comforting than the ritual of building a classic BLT sandwich on a lazy weekend afternoon. The quiet sizzle of the pan, the earthy aroma of toasted bread filling the kitchen, and the simple joy of layering fresh ingredients with deliberate care—this is cooking as a form of unwinding. I love how this recipe invites you to slow down, to focus on each texture and scent, and to create something deeply satisfying from just a handful of components.
Recipe Overview
- Prep Time: 10 minutes
- Cook Time: 15 minutes
- Total Time: 25 minutes
- Servings: 2 hearty sandwiches
- Difficulty: Easy
Why You’ll Love This Classic BLT Sandwich
- Deeply satisfying crunch: From the crispy turkey rashers to the perfectly toasted bread, every bite offers a contrast of textures that feels both indulgent and grounding.
- A celebration of fresh produce: Ripe tomatoes and crisp lettuce are the stars here, reminding us how wonderful simple, high-quality ingredients can taste when they’re treated with respect.
- Weekend-worthy but weekday-fast: While this is designed as a cosy project, the total time is still under half an hour, making it achievable even on a busy Saturday afternoon.
- Endlessly customisable: Once you master the base, you can riff with different breads, spreads, or proteins to keep things interesting week after week.
- Nostalgia made new: This sandwich carries all the familiar comfort of the classic, but making it yourself from scratch gives it a fresh, personal touch that no shop-bought version can match.
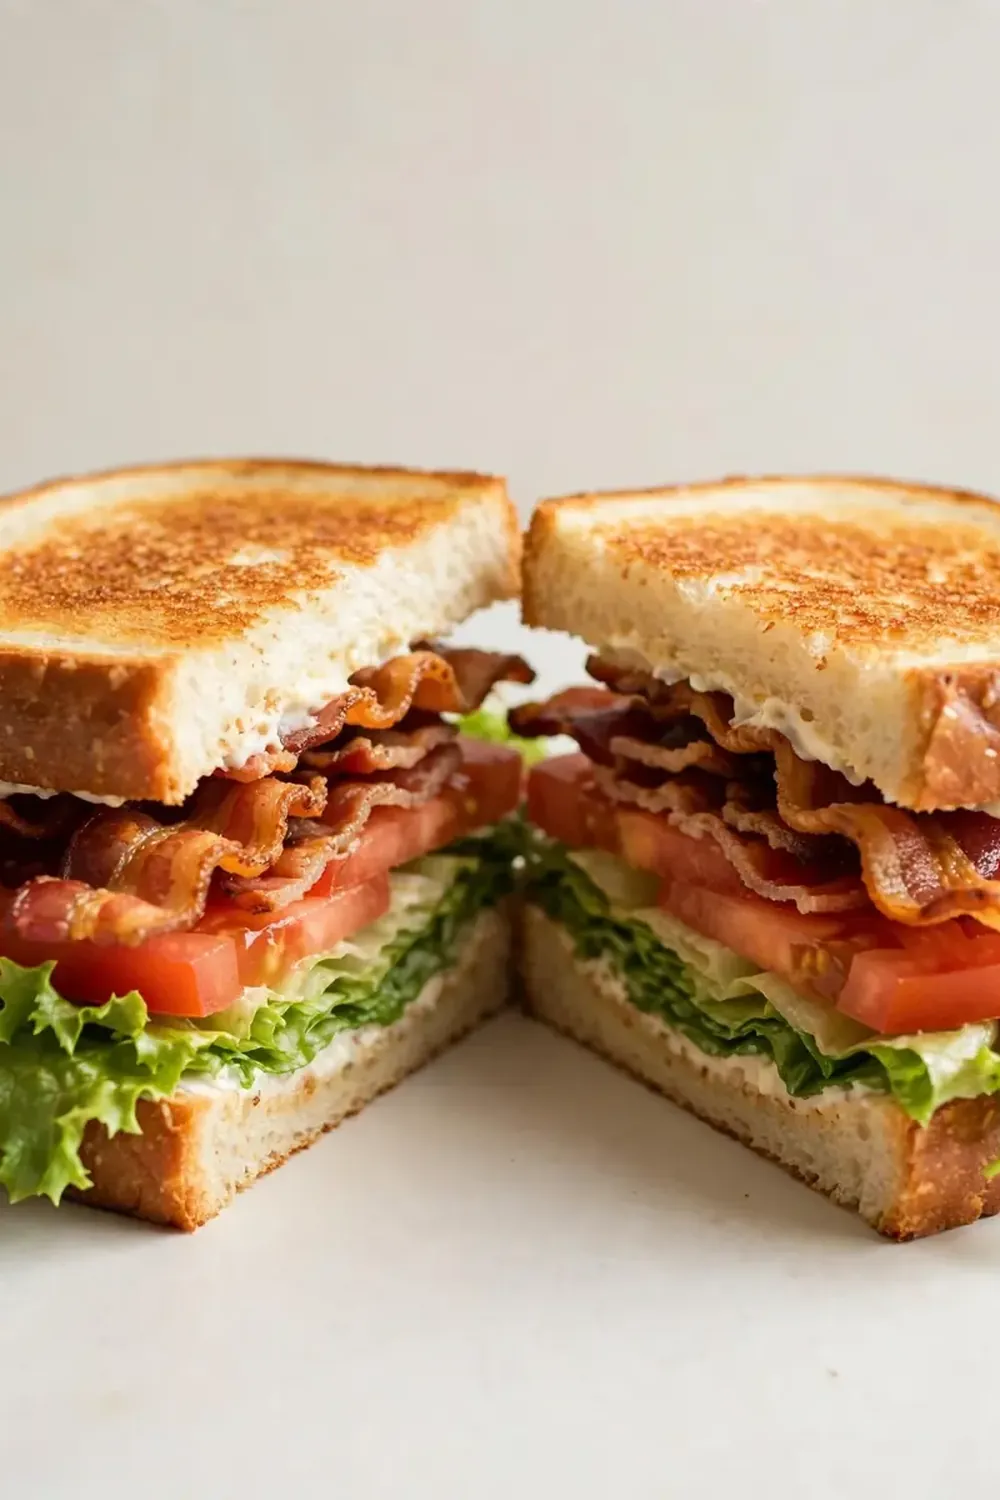
Ingredients You’ll Need
- 8 rashers turkey bacon (smoked, if available)
- 4 thick slices sourdough bread
- 2 large, ripe tomatoes
- 4 large leaves iceberg or romaine lettuce
- 3 tablespoons mayonnaise (good-quality)
- 1 teaspoon Dijon mustard (optional)
- Salt and freshly ground black pepper, to taste
- 1 tablespoon unsalted butter, softened
- 1 teaspoon olive oil
- Pinch of sea salt flakes for the tomatoes
Tip: Seek out the ripest, most fragrant tomatoes you can find—preferably from a farmers’ market or your own garden. Their sweetness and acidity are the backbone of this sandwich, so don’t skimp on quality here.
How to Make Classic BLT Sandwich
- Prepare the turkey rashers: Lay the turkey bacon in a single layer in a cold, large frying pan. Turn the heat to medium and let them cook slowly. You’ll hear a gentle sizzle as the fat renders, and the edges will start to curl and turn a deep golden brown. Cook for 4–5 minutes per side, until the rashers are crisp and the kitchen smells wonderfully smoky. Transfer to a plate lined with kitchen paper.
- Toast the bread: Wipe the pan clean with kitchen paper, then return it to a medium heat. Spread one side of each bread slice with the softened butter. Place the bread, buttered side down, into the hot pan. Listen for a soft, even hiss. Toast for 2–3 minutes until the underside is a rich, even golden brown with darker patches at the edges. Flip and toast the other side for a further minute. The bread should feel firm and sound hollow when tapped.
- Prepare the tomatoes and lettuce: While the bread toasts, slice the tomatoes into 1cm-thick rounds. You should get about 3 slices per tomato. Lay them on a plate and sprinkle with a pinch of sea salt flakes. Wash the lettuce leaves and pat them completely dry with a clean tea towel—any moisture will make the bread soggy.
- Make the spread: In a small bowl, combine the mayonnaise with the Dijon mustard if using. Stir until smooth and pale. This simple step adds a subtle tang that cuts through the richness of the turkey rashers. Set aside.
- Assemble the sandwich: Lay two slices of toasted bread on a clean board, toasted side up. Spread a generous layer of the mayonnaise mixture onto each slice. Layer on the lettuce leaves, pressing them down gently so they stay flat. Arrange the tomato slices on top of the lettuce, slightly overlapping if needed. Grind a little black pepper over the tomatoes.
- Add the turkey rashers and finish: Place four crisp turkey rashers on each sandwich, breaking them in half if they are very long so they lie flat. Top with the remaining two slices of bread, toasted side down. Press down firmly but gently with the palm of your hand to settle everything together.
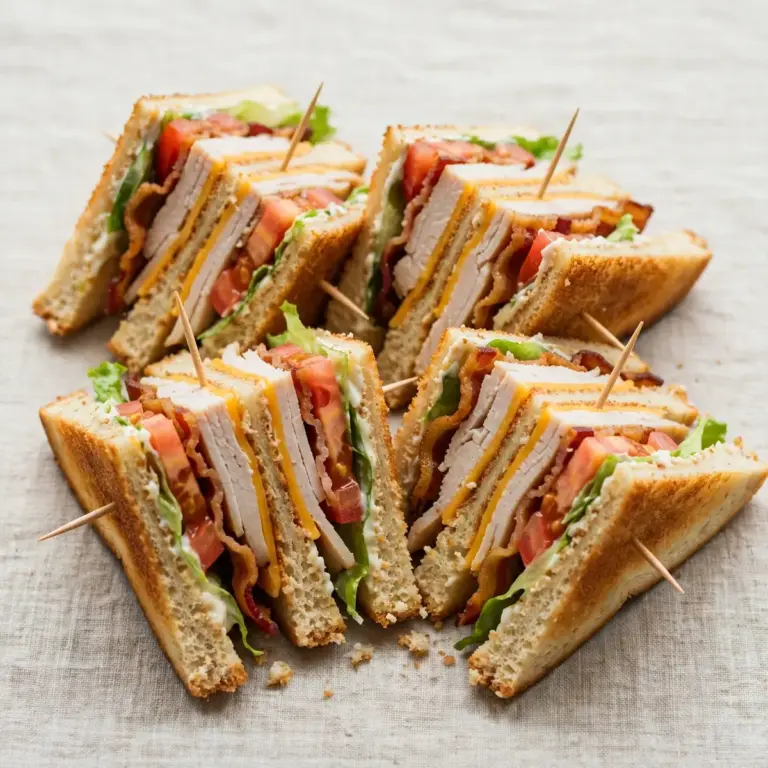
- Slice and serve: Using a sharp serrated knife, cut each sandwich diagonally—this creates two neat halves with appealingly exposed layers. The sound of the knife cutting through the crisp toast and the soft vegetables is deeply satisfying. Serve immediately, while the bread is still warm and the rashers are at their crispiest.
Tips From My Kitchen
- Dry your lettuce thoroughly: This is the single most important tip for avoiding a soggy sandwich. After washing, spin the lettuce in a salad spinner, then pat each leaf dry with a tea towel. Even a few drops of excess water can start to soften the toast within minutes.
- Salt the tomatoes ahead of time: Sprinkling the tomato slices with sea salt a few minutes before assembling draws out their natural juices and concentrates their flavour. It also seasons them evenly, so every bite tastes vibrant. Just be sure to blot any excess moisture with kitchen paper before layering.
- Use room-temperature tomatoes: A cold, straight-from-the-fridge tomato will mute the sandwich’s aroma and make the toast feel clammy. Leave your tomatoes on the counter for an hour before you start cooking. You’ll notice the difference in both scent and taste.
- Don’t rush the turkey rashers: Cooking them over a medium heat rather than high gives the fat time to render slowly, resulting in a much crisper, more evenly cooked rasher. High heat can burn the outside while leaving the centre chewy. Patience here rewards you with that perfect snap.
- Butter the bread, not the pan: Spreading softened butter directly onto the bread before toasting ensures an even, golden crust with no dry patches. It also allows the butter to soak slightly into the crumb, adding richness to every mouthful. The pan just conducts the heat.
Equipment You’ll Need
- Large frying pan or skillet
- Sharp knife and cutting board
- Mixing bowls
- Wooden spoon or spatula
- Serrated bread knife for slicing
- Salad spinner (or clean tea towel) for drying lettuce
Common Mistakes to Avoid
- Overcrowding the pan: If you cook too many turkey rashers at once, they will steam rather than crisp. The moisture released can’t escape, and you’ll end up with flabby, pale rashers. Cook in batches if necessary, giving each rasher its own space to brown evenly.
- Wrong temperature: Cooking the turkey rashers on too high a heat will cause the outside to char before the fat has rendered, leaving you with a tough, burnt exterior and a soft centre. Keep the heat at medium and allow the rashers to transform gradually—you’ll see the fat turn from white to translucent, then to golden.
- Skipping the rest time for tomatoes: It’s tempting to slice and layer the tomatoes immediately, but letting them rest with salt for a few minutes is crucial. This step draws out excess liquid that would otherwise make your bread soggy. Blot them dry before assembling, and your toast will stay crisp to the last bite.
Delicious Variations to Try
- Spicy Version: Add a few slices of pickled jalapeño to the layer between the tomatoes and turkey rashers, or stir a teaspoon of sriracha into the mayonnaise. The heat cuts through the richness beautifully and adds a lively kick.
- Vegetarian/Vegan Option: Replace the turkey rashers with thick slices of grilled halloumi or smoked tofu. For a vegan version, use a plant-based bacon alternative and a vegan mayo. The smoky, salty character remains, while the texture becomes delightfully different.
- Different Protein: Swap the turkey rashers for thin slices of roasted chicken breast or leftover spiced beef from a previous meal. Both work wonderfully, bringing their own savoury depth. For another hearty idea, try serving this alongside a slice of Ground Beef Enchilada Casserole for a truly indulgent weekend spread.
What to Serve With Classic BLT Sandwich
- A small handful of salted crisps or kettle chips for extra crunch.
- A simple side salad with a light vinaigrette to balance the richness.
- Pickled cucumbers or cornichons for a tangy contrast.
- A bowl of tomato soup, perfect for dipping the sandwich into.
- For a complete meal, consider starting with a light dish like Baked Lemon Herb Cod or follow with something sweet from the Desserts collection.
Frequently Asked Questions
Classic BLT Sandwich
Ingredients
Method
- Prepare the turkey rashers: Lay the turkey bacon in a single layer in a cold, large frying pan. Turn the heat to medium and let them cook slowly. You'll hear a gentle sizzle as the fat renders, and the edges will start to curl and turn a deep golden brown. Cook for 4–5 minutes per side, until the rashers are crisp and the kitchen smells wonderfully smoky. Transfer to a plate lined with kitchen paper.
- Toast the bread: Wipe the pan clean with kitchen paper, then return it to a medium heat. Spread one side of each bread slice with the softened butter. Place the bread, buttered side down, into the hot pan. Listen for a soft, even hiss. Toast for 2–3 minutes until the underside is a rich, even golden brown with darker patches at the edges. Flip and toast the other side for a further minute. The bread should feel firm and sound hollow when tapped.
- Prepare the tomatoes and lettuce: While the bread toasts, slice the tomatoes into 1cm-thick rounds. You should get about 3 slices per tomato. Lay them on a plate and sprinkle with a pinch of sea salt flakes. Wash the lettuce leaves and pat them completely dry with a clean tea towel—any moisture will make the bread soggy.
- Make the spread: In a small bowl, combine the mayonnaise with the Dijon mustard if using. Stir until smooth and pale. This simple step adds a subtle tang that cuts through the richness of the turkey rashers. Set aside.
- Assemble the sandwich: Lay two slices of toasted bread on a clean board, toasted side up. Spread a generous layer of the mayonnaise mixture onto each slice. Layer on the lettuce leaves, pressing them down gently so they stay flat. Arrange the tomato slices on top of the lettuce, slightly overlapping if needed. Grind a little black pepper over the tomatoes.
- Add the turkey rashers and finish: Place four crisp turkey rashers on each sandwich, breaking them in half if they are very long so they lie flat. Top with the remaining two slices of bread, toasted side down. Press down firmly but gently with the palm of your hand to settle everything together.
- Slice and serve: Using a sharp serrated knife, cut each sandwich diagonally—this creates two neat halves with appealingly exposed layers. The sound of the knife cutting through the crisp toast and the soft vegetables is deeply satisfying. Serve immediately, while the bread is still warm and the rashers are at their crispiest.
Notes
I hope this recipe becomes a cherished part of your weekend cooking routine, just as it has in my kitchen. Friends always ask me for this recipe after trying it at dinner parties, and my kids absolutely devour this every time I make it. There’s something so satisfying about assembling a perfect sandwich with your own hands, taking the time to appreciate each ingredient. If you give it a try, I’d love to hear how it turns out—leave a comment below and share your own little tweaks and discoveries.