Classic Chicken Pot Pie
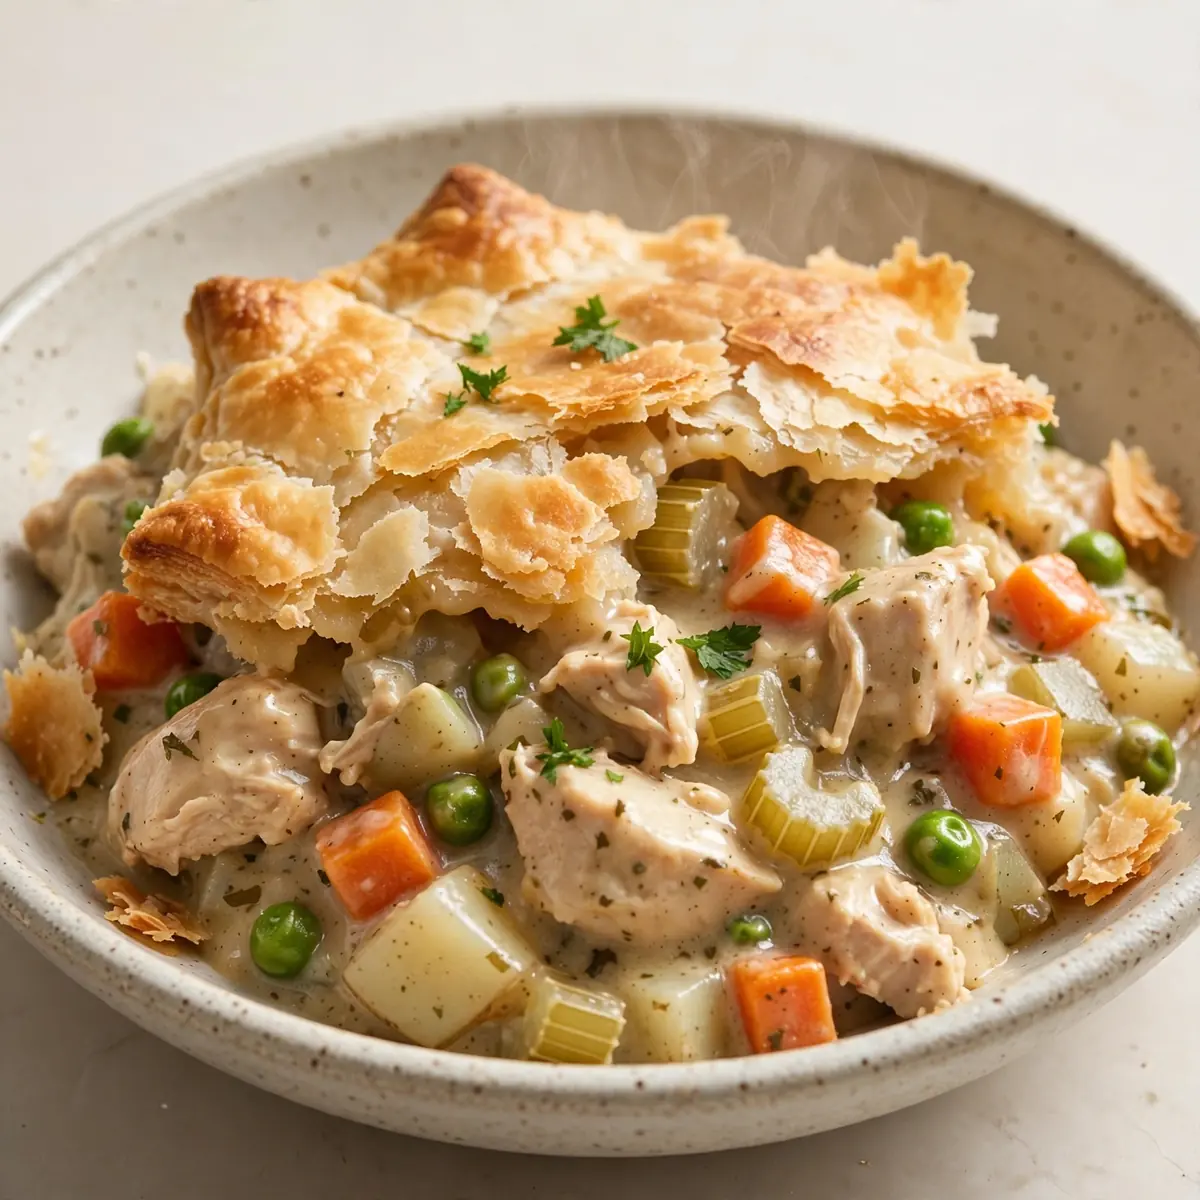
There are few things more satisfying than pulling a golden, bubbling pie from the oven on a drizzly Saturday afternoon, the kitchen windows fogged with steam and the air thick with the scent of buttery pastry and savoury gravy. This Classic Chicken Pot Pie isn’t just dinner; it’s a slow, deliberate project that rewards every single minute of your time. Let’s get that pastry rolling.
Recipe Overview
- Prep Time: 40 minutes
- Cook Time: 45 minutes
- Total Time: 1 hour 25 minutes
- Servings: 6 generous portions
- Difficulty: Medium
Why You’ll Love This Classic Chicken Pot Pie
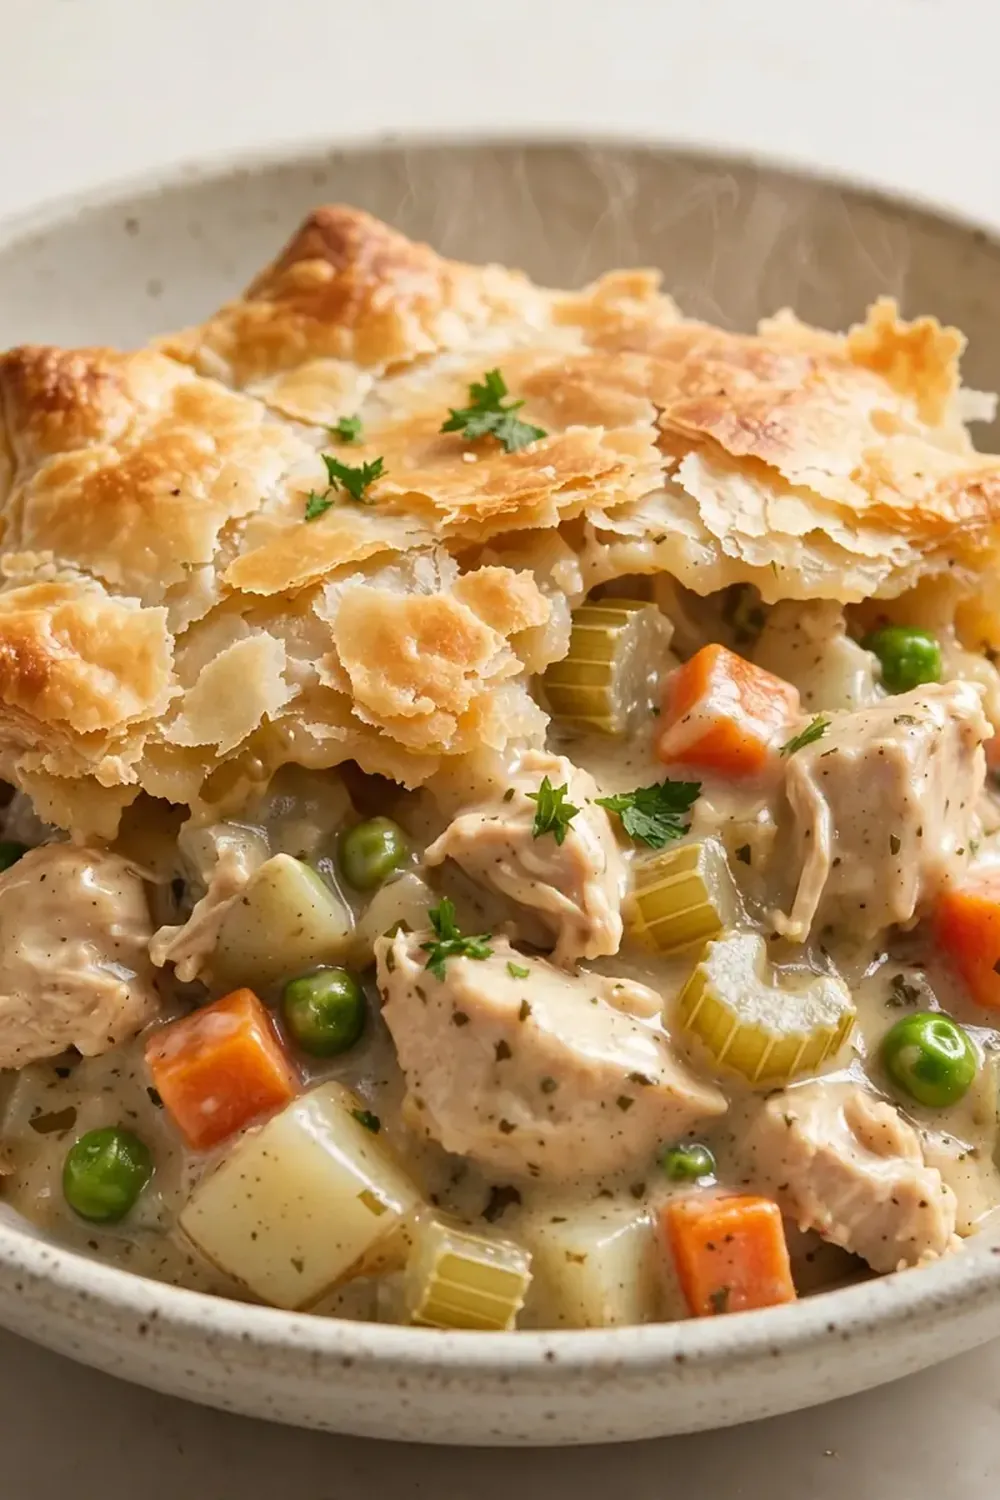
- Deeply Satisfying Filling: A rich, velvety gravy packed with tender chicken and sweet vegetables, offering a spoonful of pure comfort in every bite.
- Golden, Flaky Pastry: That glorious, buttery crust that shatters under your fork, providing the perfect textural contrast to the soft filling beneath.
- A Weekend Ritual: This recipe encourages you to slow down, embrace the process, and fill your home with the unmistakable aroma of something wonderful baking.
- Make-Ahead Friendly: You can assemble the entire pie a day in advance, making it perfect for a relaxed Sunday lunch with minimal last-minute fuss.
- Family-Approved: My kids absolutely devour this every time I make it, and my husband, who’s usually picky, asked for seconds!
Ingredients You’ll Need
- 500g boneless, skinless chicken thighs or breasts, cut into 2cm chunks
- 150g unsalted butter
- 1 large onion, finely diced
- 2 medium carrots, peeled and diced
- 2 celery sticks, diced
- 125g plain flour
- 600ml chicken stock (ideally homemade or a good quality low-salt brand)
- 250ml whole milk
- 150g frozen peas
- 2 tablespoons fresh thyme leaves (or 2 teaspoons dried)
- 1 teaspoon salt, plus more to taste
- ½ teaspoon freshly ground black pepper
- 2 sheets of ready-rolled puff pastry (or 500g shortcrust pastry)
- 1 large egg, beaten (for the egg wash)
Tip: If you have time, making your own shortcrust pastry from 250g plain flour, 125g cold butter, and a splash of iced water will elevate this dish to the next level. The extra effort is worth it for the melt-in-the-mouth texture.
How to Make Classic Chicken Pot Pie
- Brown the chicken: Melt 30g of the butter in a large, heavy-based saucepan over a medium-high heat. Add the chicken chunks in a single layer (work in batches if needed). Cook for 5-6 minutes, stirring occasionally, until the chicken is golden brown on all sides and no longer pink in the centre. You’ll hear a satisfying sizzle as the meat sears. Remove the chicken with a slotted spoon and set aside on a plate.
- Soften the vegetables: Reduce the heat to medium and add the remaining 120g of butter to the same pan. Once it has melted and is gently bubbling, add the diced onion, carrots, and celery. Cook for 8-10 minutes, stirring regularly, until the onions are translucent and the carrots have softened. The kitchen will begin to smell sweet and earthy, and the vegetables should look glossy and tender.
- Make the roux: Sprinkle the flour over the softened vegetables and stir constantly for 2 minutes. The mixture will look like a thick, sandy paste. Keep stirring until it turns a pale, biscuit colour and smells slightly nutty. This step is crucial for a smooth, lump-free gravy.
- Build the gravy: Slowly pour in the chicken stock, a little at a time, whisking vigorously after each addition. Once you have a smooth sauce, pour in the milk, continuing to whisk. Bring the mixture to a gentle simmer. You will see it visibly thicken and become glossy. Let it bubble for 2-3 minutes, then stir in the frozen peas, thyme, salt, and pepper. The sauce should be thick enough to coat the back of a spoon.
- Combine and cool: Return the browned chicken to the pan, along with any juices that have collected on the plate. Stir everything together, then taste and adjust the seasoning. Pour this glorious, steaming filling into a 23cm x 23cm (or similar 2-litre capacity) baking dish. Set it aside to cool for at least 15 minutes. A warm filling will make the pastry soggy, so patience is key here.
- Top with pastry: Preheat your oven to 200°C (180°C fan). Unroll your pastry sheet and lay it over the cooled filling. Using a sharp knife, trim the excess pastry, leaving about a 2cm overhang. Crimp the edges with a fork or your fingers to seal. Cut a few small slits in the centre of the pastry to allow steam to escape during baking — this prevents a soggy bottom.
- Egg wash and bake: Brush the entire pastry surface with the beaten egg. This will give you that deep, burnished gold finish. Place the dish on a baking tray to catch any drips. Bake for 40-45 minutes, until the pastry is puffed, deeply golden, and the filling is bubbling up through the slits. You should be able to hear a gentle, contented bubbling sound. Let it rest on the counter for 10 minutes before serving. This allows the filling to set slightly so it doesn’t flood the plate.
Tips From My Kitchen
- Don’t skip the cool-down: Pouring hot filling under raw pastry is the number one cause of a sad, doughy crust. The steam from the hot gravy will cook the underside of the pastry before it has a chance to crisp in the oven. Letting the filling cool to just warm transforms the final texture entirely.
- Use a mix of chicken: For the most interesting texture, use half chicken breast and half chicken thigh. The breast stays lean and chunky, while the thigh meat adds a deeper, juicier flavour that enriches the gravy as it simmers.
- Build layers of flavour: Don’t rush the roux. Cooking the flour and butter together for a full two minutes not only eliminates the raw flour taste but also allows the mixture to develop a subtle, toasty character that underpins the entire sauce.
- Season in stages: Add a pinch of salt when you’re sweating the vegetables, another when you make the roux, and a final adjustment after you add the stock. Layering the seasoning ensures every component is well flavoured, not just the final gravy.
- Prevent a soggy bottom: If you’re using a deep dish and are worried about the base, blind-bake the bottom pastry for 10 minutes before adding the filling. Alternatively, place a baking tray on the lowest oven shelf to catch heat and help crisp the base of the pie.
Delicious Variations to Try
- Spicy Version: Add 1 finely chopped red chilli (seeds removed) to the vegetables as they soften, and stir in 1 teaspoon of smoked paprika with the flour. The warmth of the paprika complements the creamy sauce beautifully without overwhelming it.
- Vegetarian/Vegan Option: Replace the chicken with 400g of mixed mushrooms (chestnut, shiitake, and oyster work wonderfully), roughly chopped. Sauté them until deeply browned before adding the vegetables. Use a good vegetable stock and a plant-based milk like oat milk for the sauce. The mushrooms will provide a wonderfully savoury, umami-rich filling.
- Different Protein: Swap the chicken for leftover roast turkey from a Sunday lunch, or use diced, cooked beef from a slow-cooked stew. Both will bring their own unique, hearty character to the pie. For a lighter option, flaked cooked salmon works surprisingly well with a dill and lemon version of the sauce.
What to Serve With Classic Chicken Pot Pie
- A simple green salad with a sharp vinaigrette to cut through the richness.
- Steamed green beans or tenderstem broccoli, tossed in a little butter and lemon zest.
- Cranberry sauce or a dollop of tangy chutney for a sweet-savoury contrast.
- Buttered new potatoes if you want to stretch the meal further.
Still hungry for ideas? You might also love Homemade Chicken Pot Pie With Biscuits, Crock Pot Marry Me Chicken Recipe from our sister kitchens.
Frequently Asked Questions
Classic Chicken Pot Pie
Ingredients
Method
-
Brown the chicken: Melt 30g of the butter in a large, heavy-based saucepan over a medium-high heat. Add the chicken chunks in a single layer (work in batches if needed). Cook for 5-6 minutes, stirring occasionally, until the chicken is golden brown on all sides and no longer pink in the centre. You’ll hear a satisfying sizzle as the meat sears. Remove the chicken with a slotted spoon and set aside on a plate.
-
Soften the vegetables: Reduce the heat to medium and add the remaining 120g of butter to the same pan. Once it has melted and is gently bubbling, add the diced onion, carrots, and celery. Cook for 8-10 minutes, stirring regularly, until the onions are translucent and the carrots have softened. The kitchen will begin to smell sweet and earthy, and the vegetables should look glossy and tender.
-
Make the roux: Sprinkle the flour over the softened vegetables and stir constantly for 2 minutes. The mixture will look like a thick, sandy paste. Keep stirring until it turns a pale, biscuit colour and smells slightly nutty. This step is crucial for a smooth, lump-free gravy.
-
Build the gravy: Slowly pour in the chicken stock, a little at a time, whisking vigorously after each addition. Once you have a smooth sauce, pour in the milk, continuing to whisk. Bring the mixture to a gentle simmer. You will see it visibly thicken and become glossy. Let it bubble for 2-3 minutes, then stir in the frozen peas, thyme, salt, and pepper. The sauce should be thick enough to coat the back of a spoon.
-
Combine and cool: Return the browned chicken to the pan, along with any juices that have collected on the plate. Stir everything together, then taste and adjust the seasoning. Pour this glorious, steaming filling into a 23cm x 23cm (or similar 2-litre capacity) baking dish. Set it aside to cool for at least 15 minutes. A warm filling will make the pastry soggy, so patience is key here.
-
Top with pastry: Preheat your oven to 200°C (180°C fan). Unroll your pastry sheet and lay it over the cooled filling. Using a sharp knife, trim the excess pastry, leaving about a 2cm overhang. Crimp the edges with a fork or your fingers to seal. Cut a few small slits in the centre of the pastry to allow steam to escape during baking — this prevents a soggy bottom.
-
Egg wash and bake: Brush the entire pastry surface with the beaten egg. This will give you that deep, burnished gold finish. Place the dish on a baking tray to catch any drips. Bake for 40-45 minutes, until the pastry is puffed, deeply golden, and the filling is bubbling up through the slits. You should be able to hear a gentle, contented bubbling sound. Let it rest on the counter for 10 minutes before serving. This allows the filling to set slightly so it doesn’t flood the plate.
Notes
I truly believe a homemade Classic Chicken Pot Pie is one of life’s great edible pleasures. It’s a meal that asks for your time and attention, and in return, it delivers an experience far greater than the sum of its parts. If you give this recipe a go, I’d love to hear how it turned out in the comments below. Did your kitchen smell as wonderful as mine? For more hearty, feel-good recipes, be sure to browse our collection of Lunch Recipes or explore our All Recipes for your next weekend project. Happy baking!