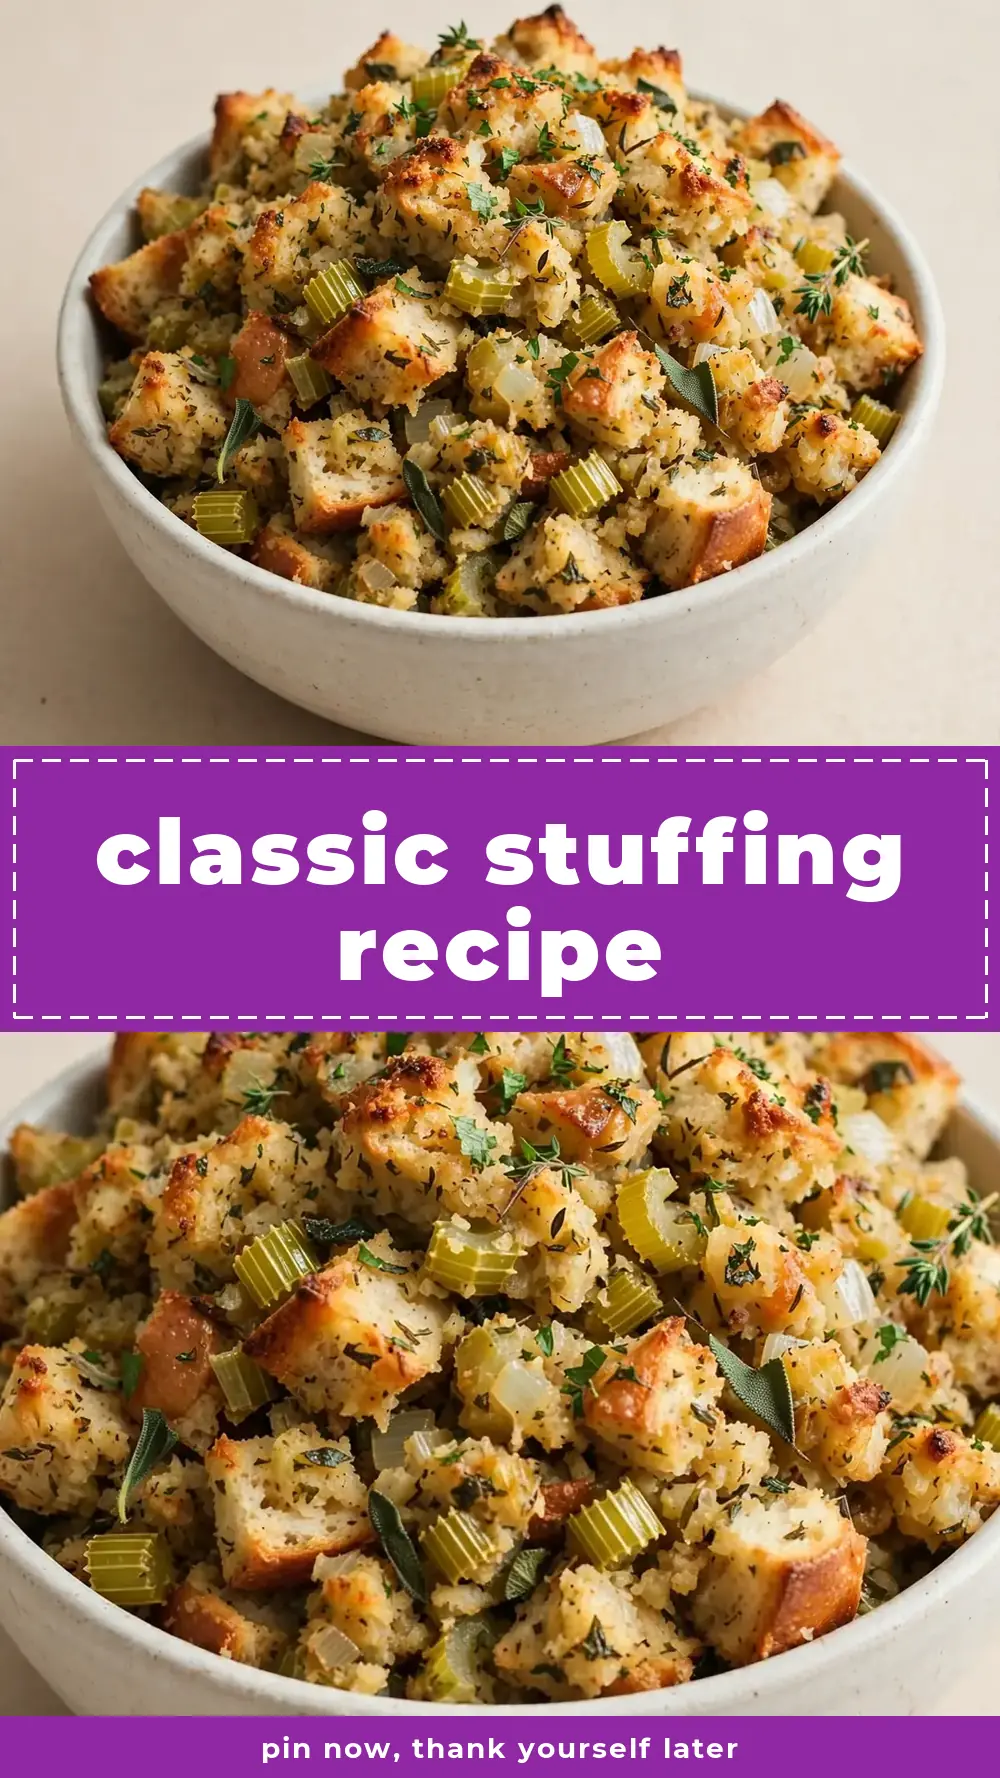
Classic Stuffing Recipe
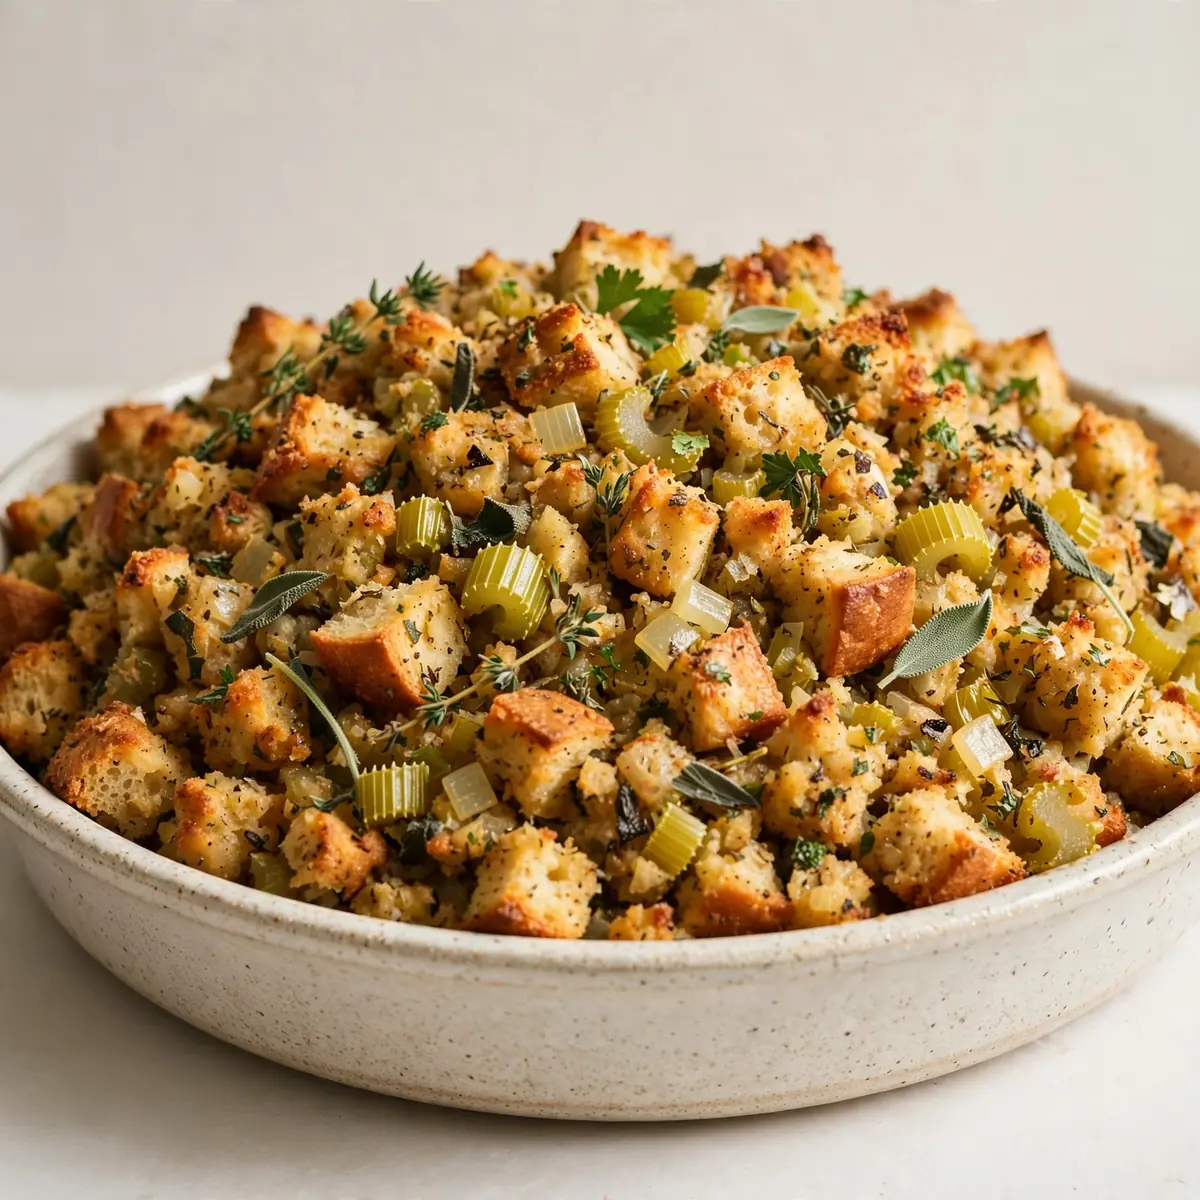
There are few things more soothing than the scent of onions and celery softening in butter on a quiet Saturday afternoon. This classic stuffing recipe is my weekend comfort project, a slow, deliberate process that fills the house with an unmistakable warmth. I make this at least once a week – it’s become a family favourite, and I am going to show you how to make it, too.
Recipe Overview
- Prep Time: 20 minutes
- Cook Time: 45 minutes
- Total Time: 1 hour 5 minutes
- Servings: 8
- Difficulty: Easy
Why You’ll Love This Classic Stuffing Recipe
- The Aroma: Your kitchen will smell like a cosy autumn afternoon, with sage, thyme, and butter mingling in the air.
- Perfect Texture: Achieve that golden, crispy top while keeping the inside irresistibly soft and moist.
- Simple Ingredients: No exotic finds here; everything is likely already in your pantry or fridge.
- Make-Ahead Friendly: Assemble it the night before, then bake when you are ready for that warm, comforting hug.
- Slows You Down: This recipe invites you to chop, stir, and breathe — a true antidote to a hectic week, much like preparing a Classic Fried Chicken Sandwich.
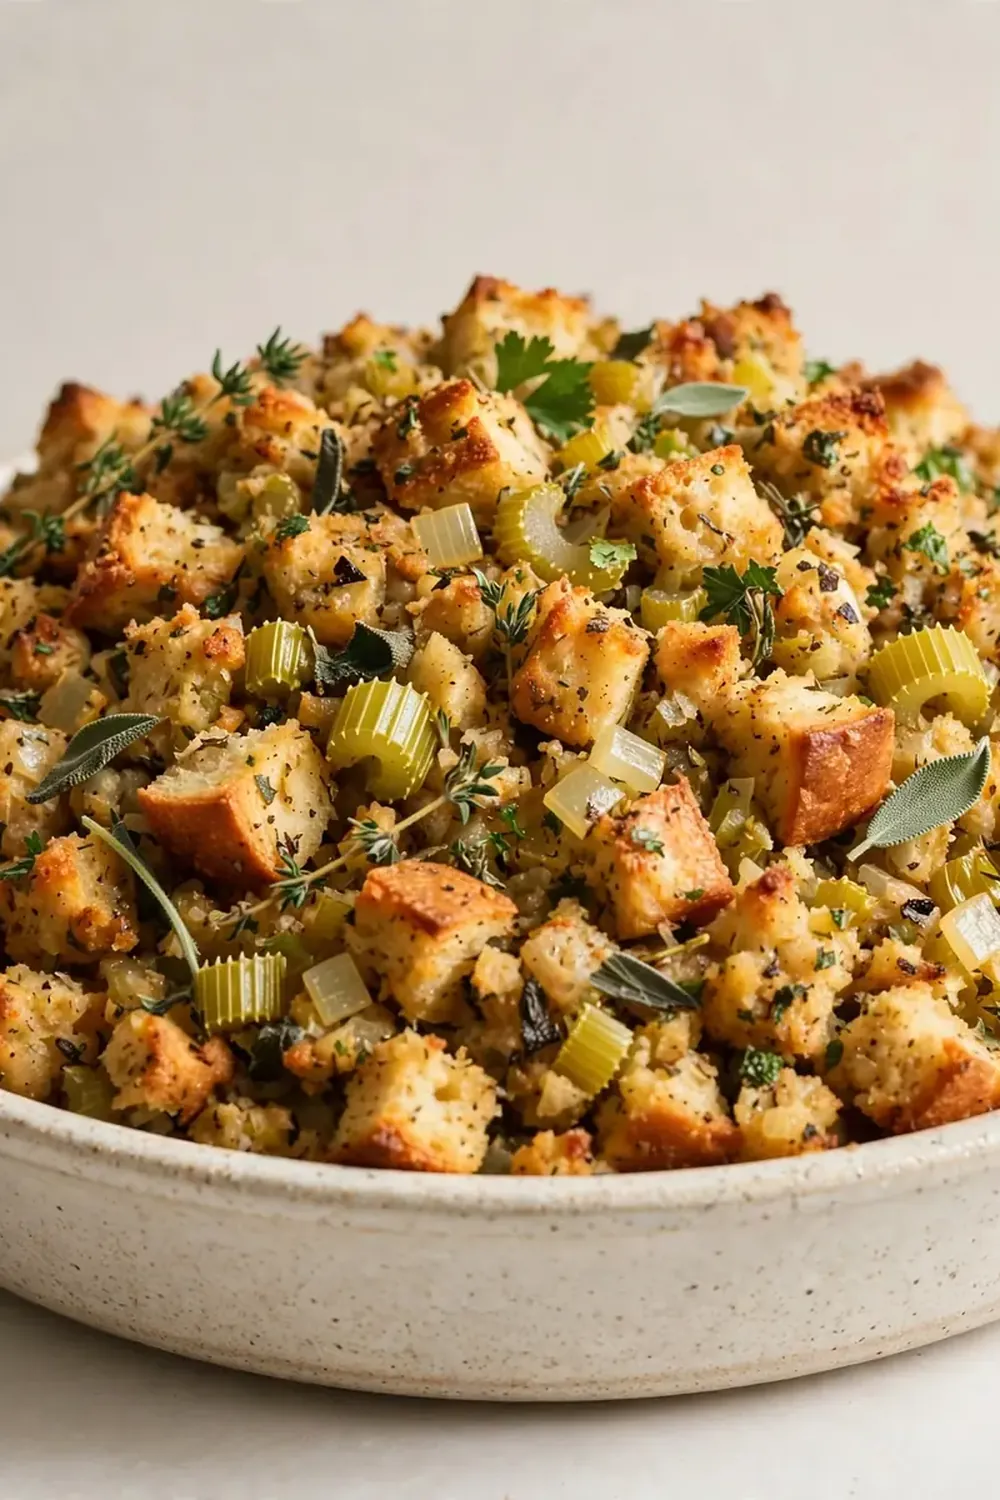
Ingredients You’ll Need
- 1 large loaf (about 500g) of slightly stale white or sourdough bread, cut into 2cm cubes
- 100g unsalted butter
- 2 large onions, finely diced
- 4 celery stalks, finely diced
- 3 cloves garlic, minced
- 2 tablespoons fresh sage leaves, chopped
- 1 tablespoon fresh thyme leaves
- 1 tablespoon fresh parsley, chopped
- 500ml chicken or vegetable stock, warmed
- 2 large eggs, lightly beaten
- 1 teaspoon salt
- ½ teaspoon black pepper
Tip: For the best texture, spread your bread cubes on a baking tray and leave them out overnight to dry out. Stale bread absorbs the stock beautifully without turning to mush.
How to Make Classic Stuffing Recipe
- Preheat your oven to 180°C (350°F). Grease a 23x33cm baking dish with a little butter. The warmth of the oven will soon fill your kitchen with promise.
- Sweat the vegetables. Melt the butter in a large frying pan over a medium heat. Add the onions and celery. Cook for 8-10 minutes, stirring occasionally with a wooden spoon. You are looking for them to become translucent and soft, and you will hear a gentle, contented sizzle. The butter will smell nutty and rich.
- Add the aromatics. Stir in the garlic, sage, and thyme. Cook for another minute until the garlic is fragrant and the herbs release their oils — the scent will deepen and become earthy.
- Combine the base. Place the bread cubes in a very large mixing bowl. Pour the warm, buttery vegetable mixture over the top. Use your hands or a spatula to toss everything together, ensuring every cube is lightly coated. You should see the bread glisten slightly.
- Add the liquid. In a separate jug, whisk the beaten eggs into the warm stock. Pour this mixture over the bread. Gently fold it in with a spatula. The bread will begin to soften, and you will feel the mixture become heavy and cohesive. It should look moist but not swimming in liquid.
- Season and transfer. Sprinkle over the salt, pepper, and fresh parsley. Give it one final, gentle stir. Spoon the mixture into your prepared baking dish and spread it into an even layer. The top should look slightly craggy, which will create lovely crispy bits.
- Bake to golden perfection. Place the dish in the oven and bake for 35-45 minutes. After 25 minutes, the edges will start to turn a deep golden brown, and you will hear a faint bubbling from the stock. The top should be crisp and deeply coloured, while the centre remains soft when you press it gently with a spoon.
- Rest before serving. Remove the dish from the oven and let it sit for 5-10 minutes. This rest allows the steam to settle, ensuring the stuffing holds its shape when you scoop it out. The scent will be intoxicating.
Tips From My Kitchen
- Use day-old bread: Fresh bread will disintegrate into a paste. Stale bread has a firmer structure that soaks up the stock like a sponge, giving you defined, tender cubes rather than a heavy brick. I leave mine out on the counter, uncovered, for a full 24 hours.
- Warm the stock: Pouring cold stock over the bread shocks the mixture and prevents even absorption. Warm stock is absorbed immediately, creating a uniformly moist texture. I heat mine gently on the hob or in the microwave until it is just warm to the touch — not boiling.
- Don’t overmix: Once you add the liquid, fold gently. Overmixing crushes the bread cubes and releases too much starch, turning your stuffing into a dense, gluey mass. You want distinct pieces of bread that are simply held together.
- Check for moisture mid-bake: If the top is browning too quickly before the centre is cooked, tent the dish loosely with foil. This traps steam and allows the inside to cook through without burning the top. Remove the foil for the last 10 minutes to re-crisp.
- Taste the vegetables before adding the bread: The onions and celery are the backbone of this dish. Taste them after sweating — they should be sweet, soft, and fully cooked. Undercooked vegetables will leave your stuffing with an unpleasant raw crunch.
Equipment You’ll Need
- Large frying pan or skillet
- Sharp knife and cutting board
- Large mixing bowl
- Wooden spoon or spatula
- 23x33cm baking dish
- Jug for mixing stock and eggs
Common Mistakes to Avoid
- Overcrowding the pan: When sweating the onions and celery, make sure your pan is large enough. If the vegetables are piled high, they will steam instead of sauté, releasing too much water and turning pale. Cook them in a single layer so you hear that steady, gentle sizzle.
- Wrong temperature: Baking at too low a temperature (below 170°C) will dry out the stuffing before the top gets colour. Too high (above 200°C) will burn the top while the inside remains cold. Stick to 180°C and use an oven thermometer if your oven runs hot or cold.
- Skipping the rest time: Cutting into the stuffing straight from the oven releases all the steam at once, causing it to collapse into a wet, messy pile. Letting it rest allows the starches to set, giving you clean, beautiful servings that hold their shape.
Delicious Variations to Try
- Spicy Version: Add one finely diced red chilli (seeds removed for less heat) when you cook the onions and celery. Stir in ½ teaspoon of smoked paprika with the herbs for a deeper, smoky warmth that lingers on the palate.
- Vegetarian/Vegan Option: Replace the butter with a high-quality vegan butter or 100ml of olive oil. Use vegetable stock and substitute the eggs with 2 tablespoons of ground flaxseed mixed with 6 tablespoons of warm water (let it sit for 5 minutes to gel). The texture remains beautifully tender.
- Different Protein: For a heartier stuffing, stir in 300g of cooked, shredded chicken or turkey after you have combined the bread with the stock. You can also use 200g of crumbled, cooked sausage (ensure it is chicken or beef-based to keep it halal).
What to Serve With Classic Stuffing Recipe
- Roast chicken or turkey with a generous drizzle of gravy
- A simple, crisp green salad with a lemon vinaigrette to cut through the richness
- Creamy mashed potatoes or a smooth, buttery Dailydish.Online root vegetable mash
- Roasted carrots and parsnips for a touch of sweetness
- A side of Crispy Parmesan Baked Chicken for a complete, satisfying meal
Frequently Asked Questions
Classic Stuffing Recipe
Ingredients
Method
-
Preheat your oven to 180°C (350°F). Grease a 23x33cm baking dish with a little butter. The warmth of the oven will soon fill your kitchen with promise.
-
Sweat the vegetables. Melt the butter in a large frying pan over a medium heat. Add the onions and celery. Cook for 8-10 minutes, stirring occasionally with a wooden spoon. You are looking for them to become translucent and soft, and you will hear a gentle, contented sizzle. The butter will smell nutty and rich.
-
Add the aromatics. Stir in the garlic, sage, and thyme. Cook for another minute until the garlic is fragrant and the herbs release their oils — the scent will deepen and become earthy.
-
Combine the base. Place the bread cubes in a very large mixing bowl. Pour the warm, buttery vegetable mixture over the top. Use your hands or a spatula to toss everything together, ensuring every cube is lightly coated. You should see the bread glisten slightly.
-
Add the liquid. In a separate jug, whisk the beaten eggs into the warm stock. Pour this mixture over the bread. Gently fold it in with a spatula. The bread will begin to soften, and you will feel the mixture become heavy and cohesive. It should look moist but not swimming in liquid.
-
Season and transfer. Sprinkle over the salt, pepper, and fresh parsley. Give it one final, gentle stir. Spoon the mixture into your prepared baking dish and spread it into an even layer. The top should look slightly craggy, which will create lovely crispy bits.
-
Bake to golden perfection. Place the dish in the oven and bake for 35-45 minutes. After 25 minutes, the edges will start to turn a deep golden brown, and you will hear a faint bubbling from the stock. The top should be crisp and deeply coloured, while the centre remains soft when you press it gently with a spoon.
-
Rest before serving. Remove the dish from the oven and let it sit for 5-10 minutes. This rest allows the steam to settle, ensuring the stuffing holds its shape when you scoop it out. The scent will be intoxicating.
Notes
I hope this classic stuffing recipe becomes a cherished part of your weekend routine, just as it has in mine. There is something truly special about taking an hour to chop, stir, and bake, filling your home with those deep, savoury aromas. I used to struggle with this dish until I discovered this technique — and now, I cannot imagine a cosy weekend without it. I would love to hear how yours turns out. Did you try one of the variations? Drop a comment below and let me know. Happy cooking!