Crispy Chicken Strips (Better Than Fast Food)
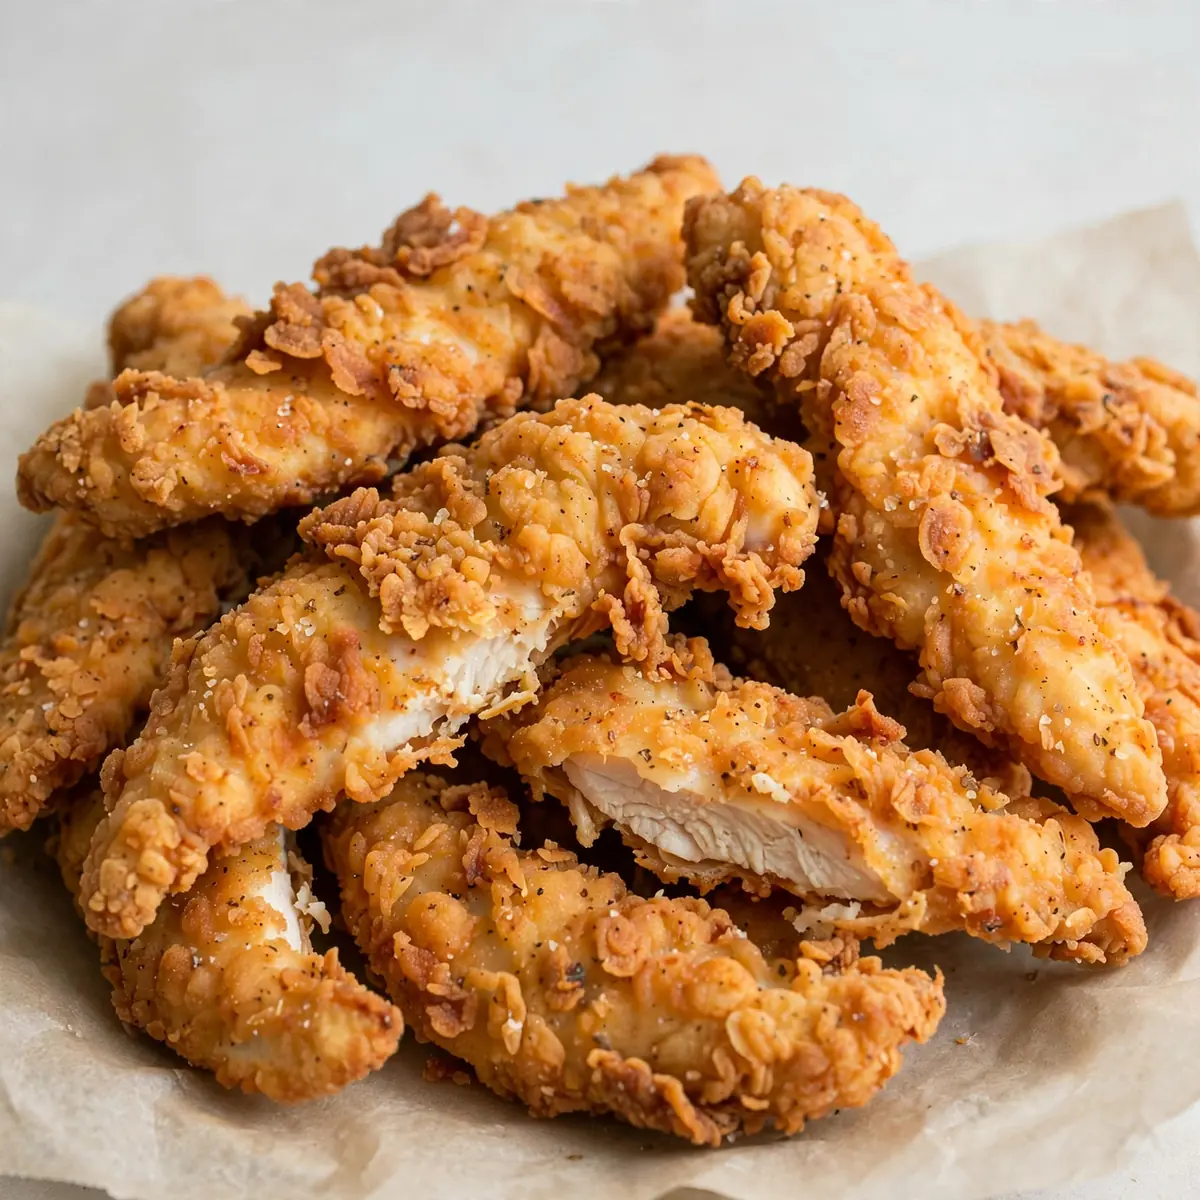
There are few things more satisfying than the sound of a perfectly golden crust crackling as you bite through to tender, juicy chicken within. This is my weekend project for when I crave that fast-food crunch but refuse to leave the house, and I promise you, the aroma alone is worth the effort. Let’s get straight to the stove.
Recipe Overview
- Prep time: 25 minutes
- Cook time: 15 minutes
- Total time: 40 minutes (plus 30 minutes for optional but recommended buttermilk soak)
- Servings: 4
- Difficulty: Easy
Why You’ll Love This Crispy Chicken Strips (Better Than Fast Food)
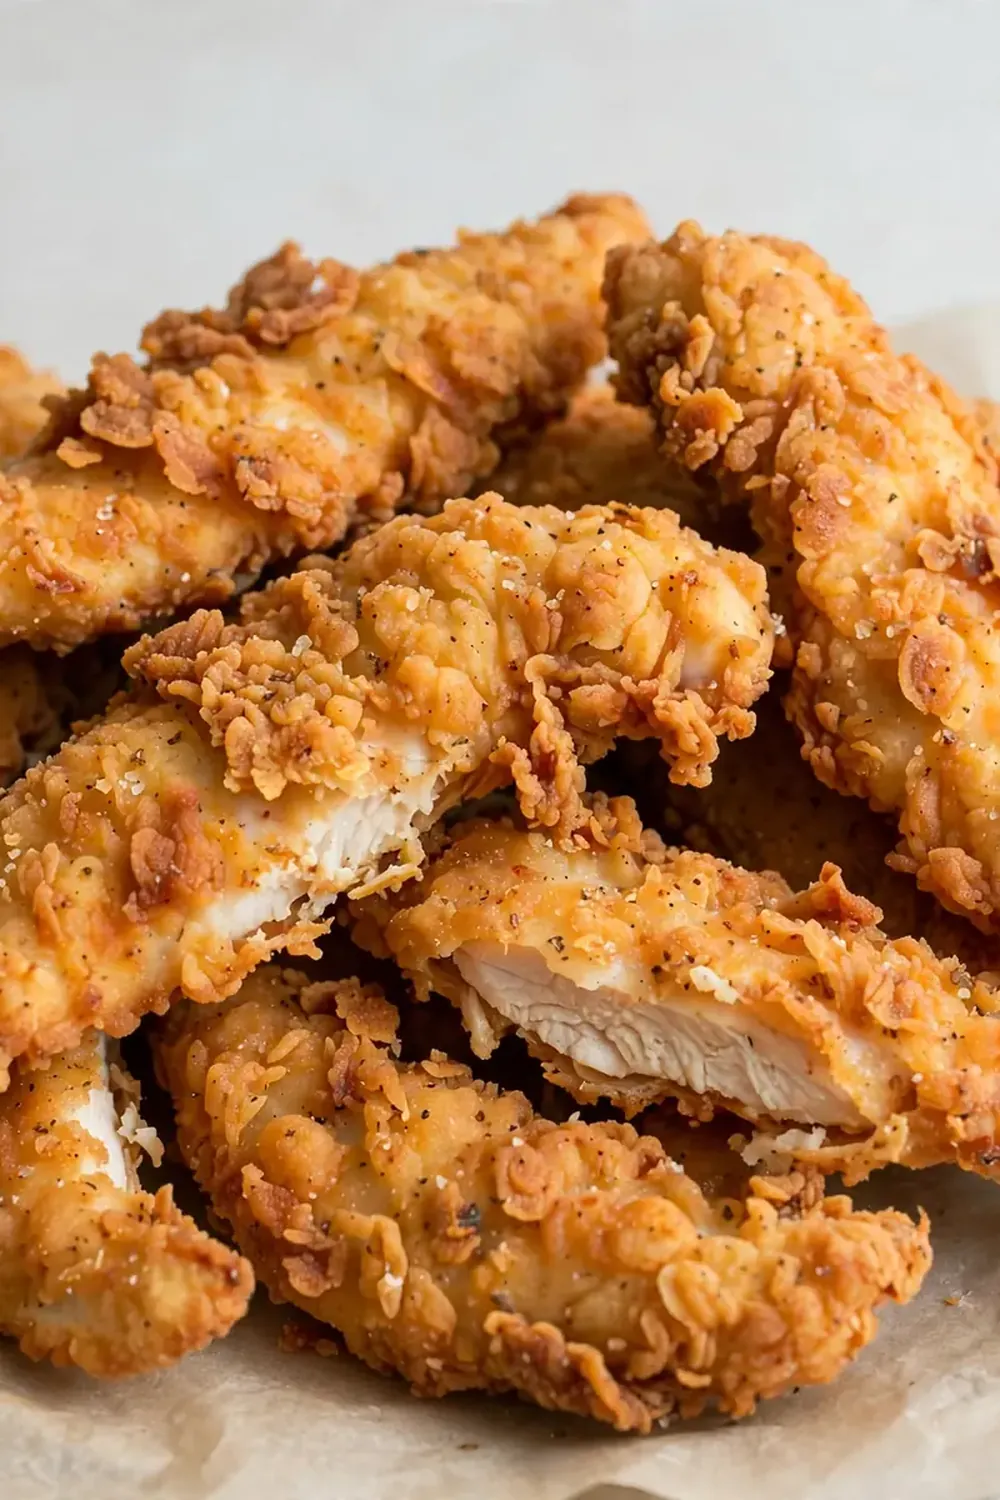
- That audible crunch: The double-dredge method creates a shatteringly crisp crust that stays crunchy even after cooling slightly — no sad, soggy strips here.
- Juicy, never dry: A quick soak in a seasoned buttermilk mixture tenderises the chicken from within, guaranteeing every bite is moist.
- No deep-fryer required: We shallow-fry in a sturdy pan, which means less oil, less mess, and you can still achieve that golden perfection.
- Total customisation: You control the spice level and seasoning, so it’s exactly as mild or as punchy as your household prefers.
- Leftovers are a gift: Cold, these strips are brilliant sliced over salads or stuffed into wraps the next day — if there are any left.
Ingredients You’ll Need
- 500g chicken breast fillets, cut into 2cm-wide strips
- 300ml buttermilk
- 1 large free-range egg
- 1 tsp salt
- ½ tsp black pepper
- 1 tsp smoked paprika
- 1 tsp garlic powder
- ½ tsp cayenne pepper (optional, for heat)
- 150g plain flour
- 50g cornflour
- 1 tsp baking powder
- Vegetable or sunflower oil, for shallow frying (about 500ml)
Tip: For the best texture, slice your chicken strips against the grain. This shortens the muscle fibres and ensures they remain tender, not chewy, even after frying.
How to Make Crispy Chicken Strips (Better Than Fast Food)
- Prepare the buttermilk bath: In a medium bowl, whisk together the buttermilk, egg, salt, pepper, smoked paprika, garlic powder, and cayenne if using. The mixture should look pale orange and smell wonderfully savoury. Submerge the chicken strips completely, cover the bowl, and refrigerate for at least 30 minutes (or up to 4 hours).
- Build the seasoned flour: In a separate, wide, shallow dish, combine the plain flour, cornflour, and baking powder. Stir with a fork until evenly distributed — the cornflour will give that extra-light, crispy texture. The flour should feel powdery and fine, with no lumps.
- Heat the oil: Pour enough oil into a large, heavy-bottomed frying pan to come about 2cm up the sides. Warm over a medium-high heat. To test if it’s ready, drop a tiny pinch of flour into the oil; it should sizzle immediately and float to the surface. You want the oil temperature around 175°C — a kitchen thermometer is your best friend here.
- Dredge the chicken: Working one strip at a time, lift a piece from the buttermilk, allowing the excess to drip off. Drop it into the seasoned flour and toss to coat completely, pressing the flour gently into the surface. You should hear a faint, dry shuffle as the flour adheres. Shake off any excess and place the coated strip on a wire rack.
- Fry in batches: Gently lay 3 or 4 strips into the hot oil — do not crowd the pan. You’ll hear a vigorous, steady sizzle as they hit the oil. Fry for 3 to 4 minutes per side, turning once with tongs, until the exterior is a deep, even golden brown and the chicken feels firm to the touch. The kitchen will smell of warm paprika and toasted flour — utterly comforting.
- Drain and rest: Using tongs, transfer the cooked strips to a wire rack set over a baking tray. Do not place them on paper towels, as the steam will soften the crust. Let them rest for 3 to 4 minutes before serving — this allows the internal juices to settle and the crust to set completely.
Tips From My Kitchen
- Patience with the buttermilk soak: This isn’t just about flavour — the acidity in buttermilk lightly tenderises the chicken, ensuring it stays juicy through the high heat of frying. Even 30 minutes makes a noticeable difference, but an hour is ideal.
- Cornflour is non-negotiable: Replacing a portion of plain flour with cornflour lowers the gluten content in the coating, which prevents it from becoming tough or bready. This is the secret to that light, shatteringly crisp crust that rivals any takeaway.
- Use a wire rack for draining: Placing hot fried chicken on paper towels traps steam underneath, turning the bottom soggy within minutes. A wire rack allows air to circulate all around the strip, preserving that crunch from every angle.
- Double-dredge for extra thickness: If you love an exceptionally thick crust, simply dip the floured strip back into the buttermilk and then into the flour a second time. The first layer acts as a paste, and the second creates an even crunchier shell.
- Keep the oil temperature steady: Between batches, the oil temperature drops. Allow it to come back up to 175°C before adding the next batch. If the oil is too cool, the coating absorbs grease and becomes heavy; too hot, and the outside burns before the chicken cooks through.
Common Mistakes to Avoid
- Overcrowding the pan: Dropping too many strips at once lowers the oil temperature dramatically, leading to greasy, pale coating. Always fry in small, single-layer batches. You’ll get a better result from three perfectly cooked strips than from eight soggy ones.
- Wrong temperature: Frying at too low a temperature (below 160°C) means the coating soaks up oil like a sponge. Too high (above 190°C), and the outside burns while the inside remains raw. Keep a thermometer clipped to your pan and maintain 175°C for perfect results.
- Skipping the rest time: Cutting into a strip immediately after frying releases all the steam and juices, leaving you with dry meat and a soft crust. Let them rest on the rack for those few minutes — the difference in texture is night and day.
What to Serve With Crispy Chicken Strips (Better Than Fast Food)
- Classic chips with a sprinkle of sea salt and smoked paprika
- A crunchy coleslaw with a tangy yoghurt dressing to cut through the richness
- Warm honey or a homemade barbecue sauce for dipping
- A simple side of sweetcorn or a crisp green salad
- Soft flour tortillas with shredded lettuce and pickled onions for DIY wraps
Still hungry for ideas? You might also love Olive Garden Chicken Alfredo Better Than The Restaurant, Creamy Garlic Chicken Pasta Recipe Comfort Food Dinner from our sister kitchens.
Frequently Asked Questions
Crispy Chicken Strips (Better Than Fast Food)
Ingredients
Method
- Prepare the buttermilk bath: In a medium bowl, whisk together the buttermilk, egg, salt, pepper, smoked paprika, garlic powder, and cayenne if using. The mixture should look pale orange and smell wonderfully savoury. Submerge the chicken strips completely, cover the bowl, and refrigerate for at least 30 minutes (or up to 4 hours).
- Build the seasoned flour: In a separate, wide, shallow dish, combine the plain flour, cornflour, and baking powder. Stir with a fork until evenly distributed — the cornflour will give that extra-light, crispy texture. The flour should feel powdery and fine, with no lumps.
- Heat the oil: Pour enough oil into a large, heavy-bottomed frying pan to come about 2cm up the sides. Warm over a medium-high heat. To test if it's ready, drop a tiny pinch of flour into the oil; it should sizzle immediately and float to the surface. You want the oil temperature around 175°C — a kitchen thermometer is your best friend here.
- Dredge the chicken: Working one strip at a time, lift a piece from the buttermilk, allowing the excess to drip off. Drop it into the seasoned flour and toss to coat completely, pressing the flour gently into the surface. You should hear a faint, dry shuffle as the flour adheres. Shake off any excess and place the coated strip on a wire rack.
- Fry in batches: Gently lay 3 or 4 strips into the hot oil — do not crowd the pan. You'll hear a vigorous, steady sizzle as they hit the oil. Fry for 3 to 4 minutes per side, turning once with tongs, until the exterior is a deep, even golden brown and the chicken feels firm to the touch. The kitchen will smell of warm paprika and toasted flour — utterly comforting.
- Drain and rest: Using tongs, transfer the cooked strips to a wire rack set over a baking tray. Do not place them on paper towels, as the steam will soften the crust. Let them rest for 3 to 4 minutes before serving — this allows the internal juices to settle and the crust to set completely.
Notes
Friends always ask me for this recipe after trying it at dinner parties, and my kids absolutely devour this every time I make it. There’s something deeply satisfying about standing at the stove on a lazy Saturday, listening to the steady sizzle and watching those strips turn a perfect shade of gold. I’d love to hear how yours turn out — drop a comment below and let me know if you added any secret spices to the mix.