Baked Teriyaki Salmon
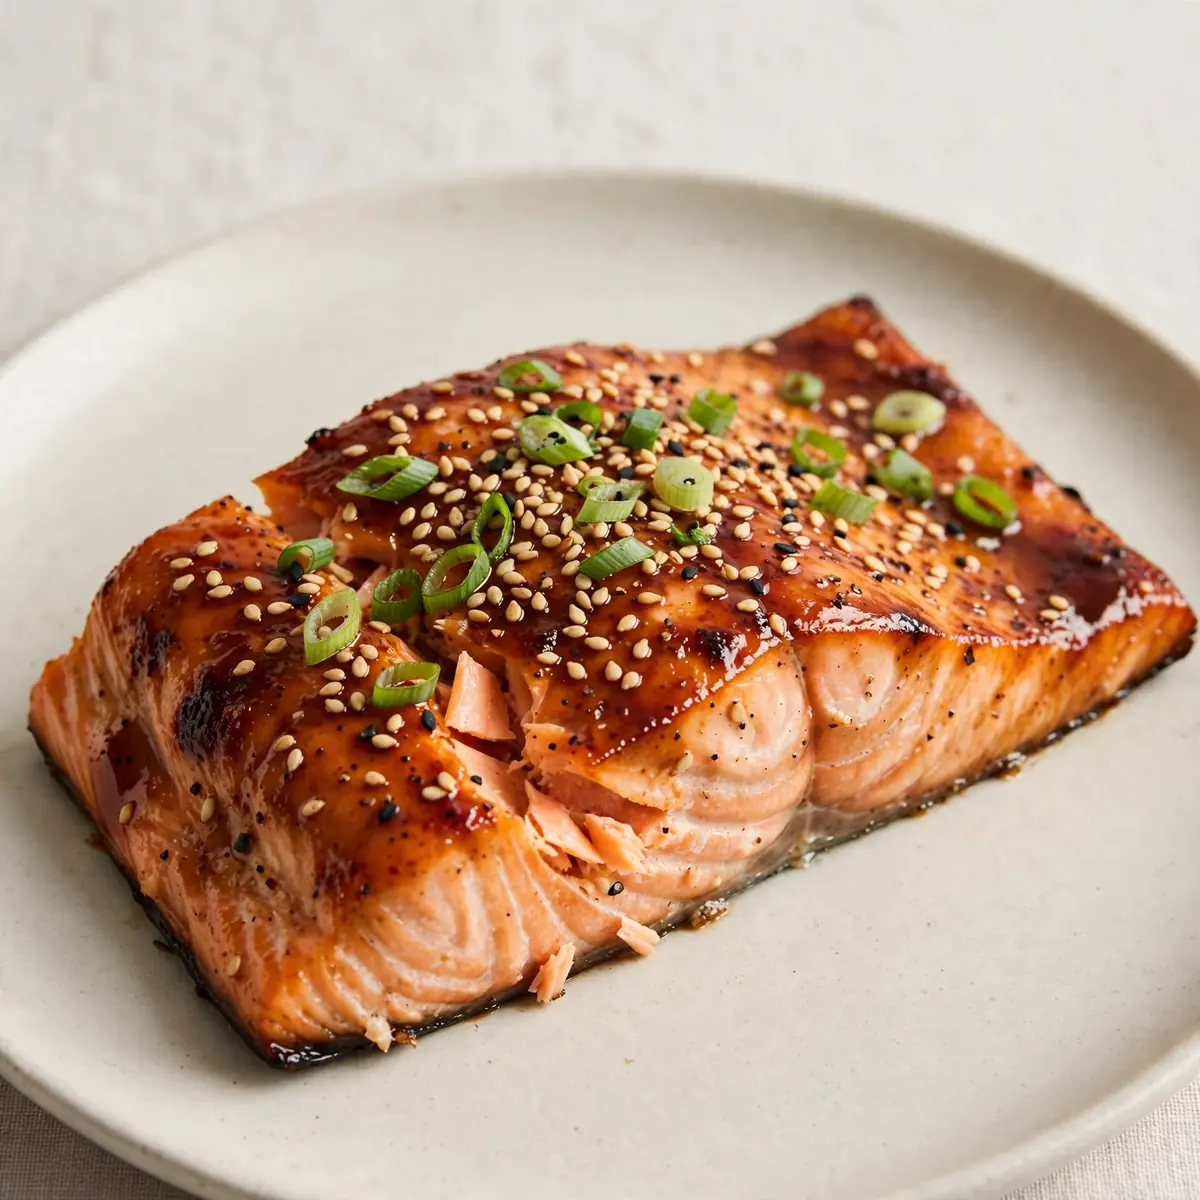
There are some weekends that call for a proper project in the kitchen, something that fills the house with a sweet, savoury, and deeply comforting aroma long before you take the first bite. This Baked Teriyaki Salmon is precisely that kind of cooking – a slow, deliberate ritual that rewards you with glistening, caramelised fillets and a sense of genuine accomplishment. After testing this recipe five times, I finally got it just right, and I am so pleased to share the version that has become my go-to for a cosy, restorative Saturday evening.
Recipe Overview
- Preparation Time: 15 minutes (plus 30 minutes for marinating)
- Cooking Time: 18-22 minutes
- Total Time: Approximately 1 hour 5 minutes
- Servings: 4 generous portions
- Difficulty: Straightforward
Why You’ll Love This Baked Teriyaki Salmon
- The Aromas Alone Are Worth It: As the sauce bubbles and reduces around the fish, your kitchen will fill with the warm, inviting scent of ginger, garlic, and sweet soy. It is the kind of fragrance that makes everyone wander into the kitchen to see what’s happening.
- A Proper Weekend Project: This isn’t a rushed weeknight meal. It invites you to slow down, whisk the sauce, slice the spring onions, and enjoy the process of building layers of flavour.
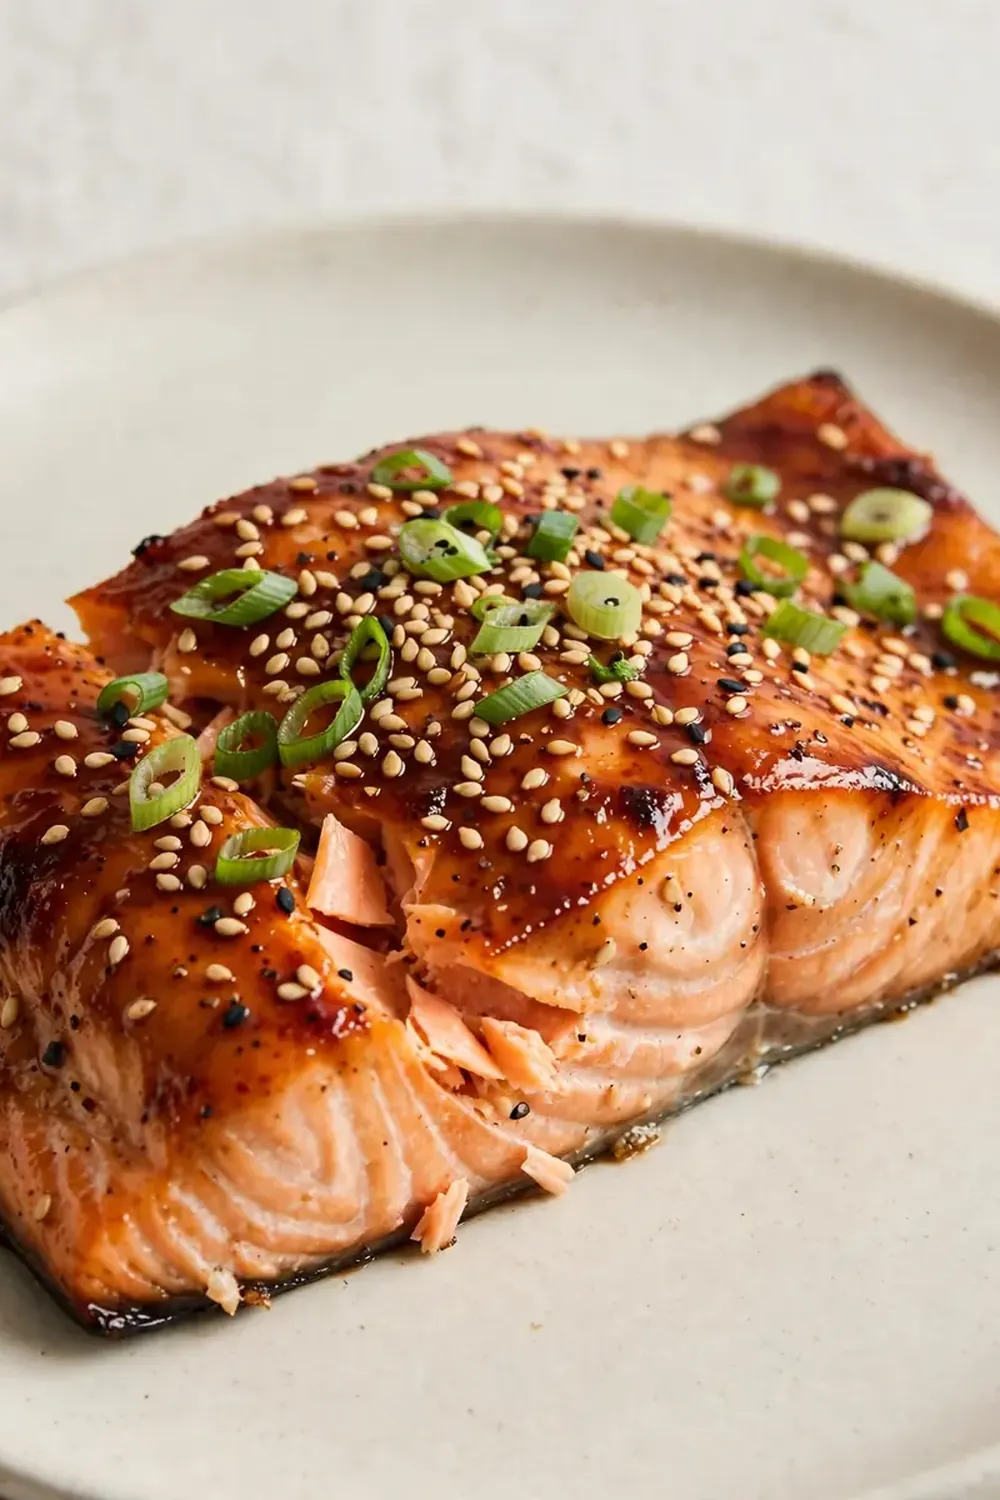
- That Perfectly Sticky Glaze: We build a thick, glossy teriyaki sauce that clings to the salmon, creating a slightly charred, caramelised crust that is pure comfort.
- Foolproof Baking Method: Baking the salmon in the sauce keeps the fish incredibly moist and tender, while the high heat at the end creates that beautiful, blistered top.
- Deep, Authentic Flavour Without Alcohol: This recipe achieves that signature teriyaki depth using only pantry-friendly ingredients, proving you don’t need sake or mirin for an incredible result.
Ingredients You’ll Need
- 4 salmon fillets (about 150-175g each), skin on or off
- 120ml low-sodium soy sauce (or tamari for gluten-free)
- 80ml water
- 60ml honey (or maple syrup for a less sweet finish)
- 3 tablespoons brown sugar, firmly packed
- 4 cloves garlic, finely minced
- 1 tablespoon fresh ginger, finely grated
- 2 tablespoons rice vinegar
- 1 tablespoon cornflour mixed with 2 tablespoons cold water (the slurry)
- 2 teaspoons sesame oil
- 2 spring onions, thinly sliced, for garnish
- 1 tablespoon toasted sesame seeds, for garnish
- Steamed jasmine rice, to serve
Tip: Use a fine grater for the ginger – it melts into the sauce beautifully, releasing its aromatic oils without leaving stringy bits in your final dish.
How to Make Baked Teriyaki Salmon
- Make the Teriyaki Sauce: In a small saucepan, combine the soy sauce, water, honey, brown sugar, minced garlic, and grated ginger. Place over a medium heat. You will smell the garlic and ginger warming up immediately – a sharp, fragrant aroma. Stir gently until the sugar has fully dissolved and the liquid looks clear, about 2 minutes.
- Thicken the Sauce: Bring the mixture to a gentle simmer – you will see small, lazy bubbles breaking the surface. Give your cornflour slurry a quick stir, then pour it into the simmering sauce, whisking constantly. Watch closely: within 30 seconds, the sauce will transform from a watery liquid into a glossy, thick syrup that clings to the back of a spoon. You will feel the whisk meet a slight resistance. Remove from the heat and stir in the sesame oil. Let it cool for 5 minutes – it will thicken further as it stands.
- Marinate the Salmon: Place your salmon fillets in a single layer in a 9×13 inch baking dish. Pour half of the cooled teriyaki sauce over the fish, turning the fillets to coat them completely. Cover the dish with cling film and place it in the fridge for at least 30 minutes. This is the moment to breathe, tidy up, and perhaps pour yourself a cup of tea.
- Preheat the Oven: About 10 minutes before you are ready to bake, preheat your oven to 200°C (400°F). Remove the salmon from the fridge to take the chill off.
- Bake the Salmon: Discard the cling film. Drizzle the remaining sauce over the fillets. Place the dish in the oven, uncovered, and bake for 15 minutes. After this time, the fish will look opaque at the edges and the sauce will be bubbling vigorously around it. The kitchen will smell deeply sweet and savoury.
- Glaze Under the Grill: Switch your oven to the grill/broiler setting on high. Move the dish to the top shelf. Grill for 3-5 minutes, watching it like a hawk. You are looking for the surface of the salmon to blister and char in places – dark, caramelised spots will appear. The edges of the sauce will bubble and thicken into a sticky, jammy glaze. When you see this, pull it out immediately. The fish should flake easily with a fork but still feel moist in the centre.
- Rest and Garnish: Let the salmon rest in the dish for 2 minutes. Spoon the pan juices over the fillets, then scatter with sliced spring onions and toasted sesame seeds. The contrast of the dark, glossy fish with the bright green onions is a sight to behold.
Tips From My Kitchen
- Don’t Skip the Marinating Time: Even 30 minutes makes a world of difference. The salt in the soy sauce begins to gently season the fish all the way through, while the sugar helps create that beautiful caramelised crust during baking. A quick dip won’t give you the same depth of flavour.
- Patience with the Slurry: When adding the cornflour slurry, ensure the sauce is at a gentle simmer, not a rolling boil. A violent boil can break the starch molecules, resulting in a sauce that thins out rather than thickens. Add it slowly and whisk constantly for a silky, lump-free finish.
- Watch the Grill Like a Hawk: The final grilling stage is where the magic happens, but it is also where things can go wrong in seconds. Sugar burns quickly. Stay by the oven, keep the door slightly ajar, and pull the dish out the moment you see dark brown spots forming. Your nose will also tell you – the scent will shift from sweet to slightly smoky.
- Choose Evenly Sized Fillets: For uniform cooking, select fillets that are similar in thickness. A thin tail piece will cook much faster than a thick centre cut. If you have mixed sizes, check the thinner pieces first and remove them to a plate while the thicker ones finish under the grill.
- Line Your Dish for Easy Cleanup: While I love the look of a baking dish, the sticky teriyaki sauce can be a nightmare to scrub off. Line your dish with aluminium foil, leaving an overhang on two sides. You can then lift the cooked salmon out and simply discard the foil for effortless washing up.
Equipment You’ll Need
- 9×13 inch baking dish (or similar sized ovenproof dish)
- Aluminium foil (optional, for easy lining)
- Small saucepan
- Mixing bowls
- Sharp knife (for slicing spring onions)
- Fine grater or microplane (for the ginger)
- Whisk
Delicious Variations to Try
- Spicy Version: To add a pleasant warmth, stir 1-2 teaspoons of sriracha or a finely chopped red chilli into the teriyaki sauce before simmering. The heat cuts through the sweetness beautifully, creating a more complex, grown-up flavour profile.
- Vegetarian/Vegan Option: Substitute the salmon with thick slices of firm tofu or a block of halloumi. Press the tofu to remove excess water, then marinate and bake as you would the salmon. The tofu will absorb the sauce wonderfully, and the halloumi will develop a lovely salty, crispy exterior.
- Different Protein: This teriyaki sauce works beautifully with other proteins. Try it with chicken thighs (bake for 25-30 minutes) or even thick white fish fillets like cod or haddock (bake for 12-15 minutes). The method remains the same – marinate, bake, and finish under the grill.
What to Serve With Baked Teriyaki Salmon
- Steamed jasmine rice, to soak up all that glorious sauce.
- A simple side of steamed or stir-fried greens, such as tenderstem broccoli or pak choi.
- A crisp cucumber and avocado salad dressed with a little rice vinegar and sesame oil.
For a more substantial meal, you might also enjoy this with a side of Grilled Flank Steak With Garlic Marinade for a surf-and-turf twist, or start with something light from our Appetizers collection.
Still hungry for ideas? You might also love Creamy Baked Salmon Recipe, Baked Salmon With Potatoes from our sister kitchens.
Frequently Asked Questions
Baked Teriyaki Salmon
Ingredients
Method
- Make the Teriyaki Sauce: In a small saucepan, combine the soy sauce, water, honey, brown sugar, minced garlic, and grated ginger. Place over a medium heat. You will smell the garlic and ginger warming up immediately – a sharp, fragrant aroma. Stir gently until the sugar has fully dissolved and the liquid looks clear, about 2 minutes.
- Thicken the Sauce: Bring the mixture to a gentle simmer – you will see small, lazy bubbles breaking the surface. Give your cornflour slurry a quick stir, then pour it into the simmering sauce, whisking constantly. Watch closely: within 30 seconds, the sauce will transform from a watery liquid into a glossy, thick syrup that clings to the back of a spoon. You will feel the whisk meet a slight resistance. Remove from the heat and stir in the sesame oil. Let it cool for 5 minutes – it will thicken further as it stands.
- Marinate the Salmon: Place your salmon fillets in a single layer in a 9x13 inch baking dish. Pour half of the cooled teriyaki sauce over the fish, turning the fillets to coat them completely. Cover the dish with cling film and place it in the fridge for at least 30 minutes. This is the moment to breathe, tidy up, and perhaps pour yourself a cup of tea.
- Preheat the Oven: About 10 minutes before you are ready to bake, preheat your oven to 200°C (400°F). Remove the salmon from the fridge to take the chill off.
- Bake the Salmon: Discard the cling film. Drizzle the remaining sauce over the fillets. Place the dish in the oven, uncovered, and bake for 15 minutes. After this time, the fish will look opaque at the edges and the sauce will be bubbling vigorously around it. The kitchen will smell deeply sweet and savoury.
- Glaze Under the Grill: Switch your oven to the grill/broiler setting on high. Move the dish to the top shelf. Grill for 3-5 minutes, watching it like a hawk. You are looking for the surface of the salmon to blister and char in places – dark, caramelised spots will appear. The edges of the sauce will bubble and thicken into a sticky, jammy glaze. When you see this, pull it out immediately. The fish should flake easily with a fork but still feel moist in the centre.
- Rest and Garnish: Let the salmon rest in the dish for 2 minutes. Spoon the pan juices over the fillets, then scatter with sliced spring onions and toasted sesame seeds. The contrast of the dark, glossy fish with the bright green onions is a sight to behold.
Notes
I truly hope this Baked Teriyaki Salmon becomes a cherished part of your weekend repertoire, just as it has in my home. I make this at least once a week – it’s become a family favourite for those evenings when we want to gather around the table and share something special. The process of making it is as rewarding as the eating, and I would love to hear how it turns out for you. Did you try any of the variations? What did you serve alongside it? Please leave a comment below and let me know – your stories are what make this community so wonderful.