Homemade Fudge
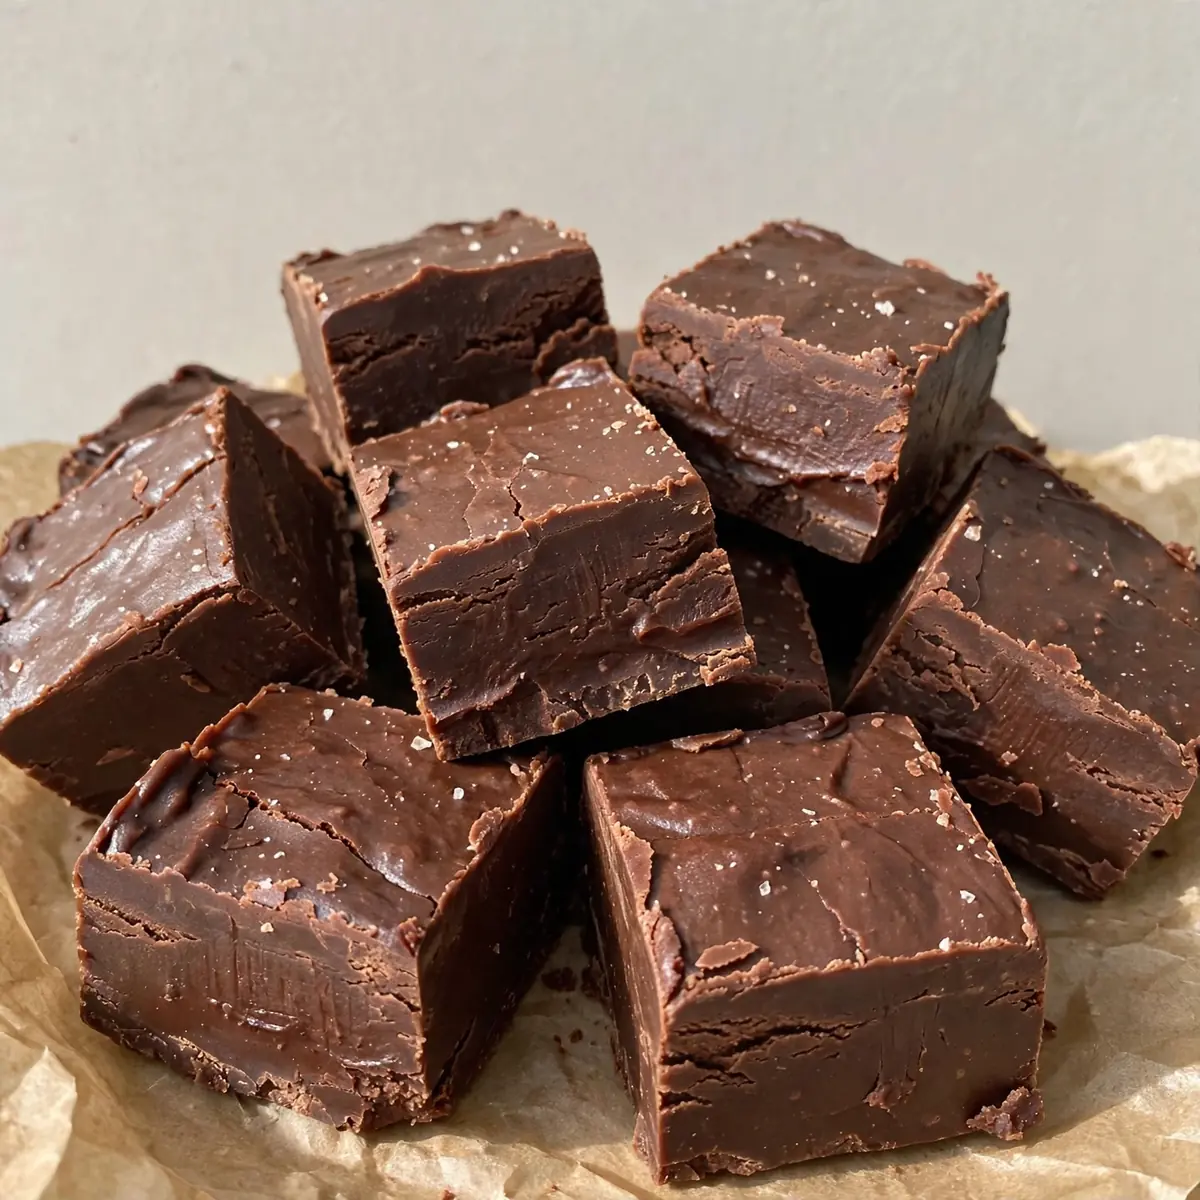
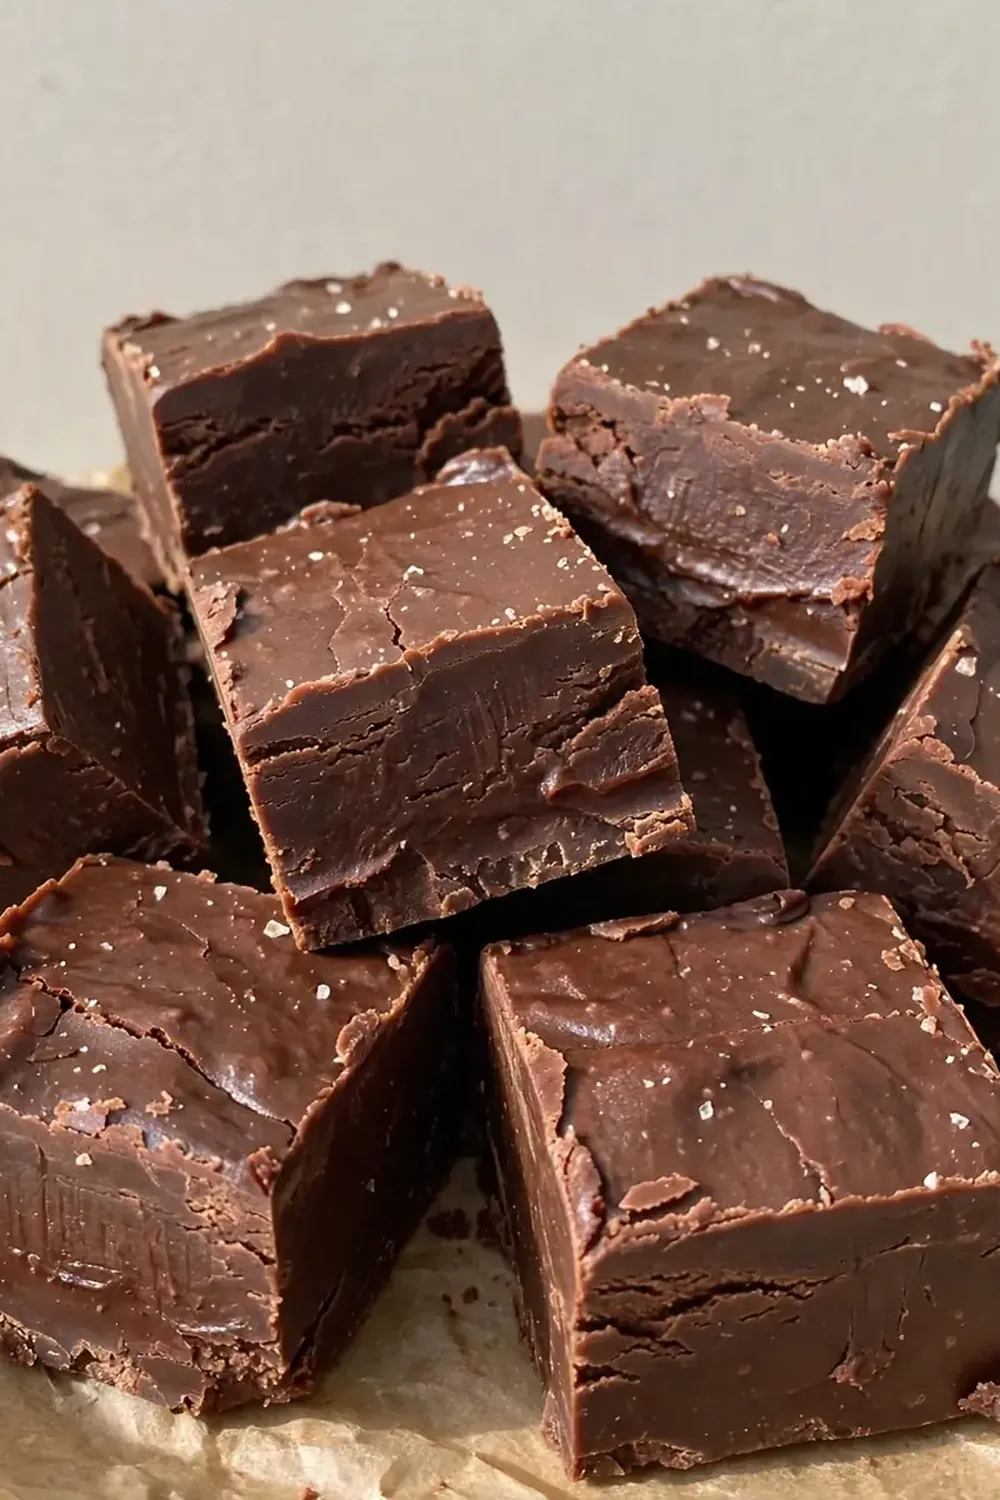
There are few things more comforting than the scent of sugar and butter melting together on a quiet Saturday afternoon. This homemade fudge recipe is my favourite weekend project, a slow, deliberate process that rewards you with a silky, decadent treat that tastes of pure nostalgia.
Recipe Overview
- Prep Time: 15 minutes
- Cook Time: 20 minutes
- Total Time: 3 hours (includes setting time)
- Servings: 36 pieces
- Difficulty: Medium
Why You’ll Love This Homemade Fudge
- Deeply Satisfying Process: The act of stirring, watching, and waiting is a form of edible meditation. It forces you to slow down and be present in your own kitchen.
- Unforgettable Texture: Unlike the gritty, waxy stuff from a supermarket, this fudge has a melt-in-the-mouth creaminess that is pure silk.
- Customisable Canvas: This base recipe is a blank slate for your imagination. You can fold through nuts, dried fruit, or a swirl of caramel.
- Perfect Gifts: Wrapped in a little box with a ribbon, it makes a personal, heartfelt present that shows you truly care.
- Family Tradition Material: Friends always ask me for this recipe after trying it at dinner parties, and I make this at least once a week – it’s become a family favourite.
Ingredients You’ll Need
- 400g caster sugar
- 125g unsalted butter, cubed
- 200ml full-fat evaporated milk
- 100g golden syrup
- 1 tsp sea salt
- 1 tsp vanilla extract
- 200g dark chocolate (70% cocoa solids), finely chopped
- 100g milk chocolate, finely chopped
- 100g white chocolate chips (optional, for marbling)
- 100g toasted hazelnuts, roughly chopped
Tip: The quality of your chocolate directly impacts the final taste. Use a good brand you enjoy eating on its own; cheap chocolate will produce a flat, one-note fudge.
How to Make Homemade Fudge
- Prepare your tin. Line a 20cm square baking tin with baking parchment, leaving an overhang on two opposite sides. This will act as handles to lift the fudge out later.
- Start the base. Place the caster sugar, cubed butter, evaporated milk, and golden syrup into a large, heavy-bottomed saucepan. Set it over a low heat. Smell: A sweet, buttery aroma will begin to fill your kitchen. Look: The butter will slowly melt into a pale, sandy liquid.
- Dissolve the sugar. Stir gently with a wooden spoon until the sugar has completely dissolved. You should not hear any gritty sound when you stir against the bottom of the pan. This takes about 5 minutes of patient, low heat.
- Bring to the boil. Increase the heat to medium and bring the mixture to a gentle, rolling boil. Clip a sugar thermometer to the side of the pan. Sound: The quiet simmer will become a louder, more active bubbling. Look: The liquid will become thick and frothy.
- Cook to the soft-ball stage. Continue to boil, without stirring, until the thermometer reads 115°C (soft-ball stage). Look: The bubbles will become smaller and the mixture will darken to a light caramel colour. This takes about 10–12 minutes. Do not walk away; the temperature can rise quickly.
- Cool the mixture. Remove the pan from the heat immediately. Add the sea salt and vanilla extract, but do not stir. Let the mixture sit untouched for exactly 5 minutes. Look: The surface will become still and glossy.
- Add the chocolate and beat. Tip the chopped dark and milk chocolate into the pan. Begin to stir gently in one direction. Look: The chocolate will melt into dark ribbons. Texture: As you stir, the mixture will change from a thin liquid to a thick, matte, and grainy paste. This is the fudge “seizing” — it is ready when it holds its shape on the spoon and looks dull, not shiny.
- Fold in extras and set. Quickly fold through the toasted hazelnuts. If using white chocolate chips, dot them on top and swirl gently with a knife. Pour the thick fudge into the prepared tin and spread it into an even layer. Sound: You will hear a soft, squelching sound as you press it into the corners. Leave to set at room temperature for at least 2 hours, or overnight for a cleaner cut.
Tips From My Kitchen
- Use a sugar thermometer: I cannot stress this enough. Fudge is a science project. The soft-ball stage (115°C) is the precise point where the sugar concentration is perfect. Guessing leads to either sticky, soft fudge or dry, crumbly fudge. The thermometer is your guarantee.
- Do not stir during the boil: Once the sugar has dissolved and the mixture is boiling, leave it alone. Stirring at this point encourages sugar crystals to form, which will give your fudge a gritty, sandy texture instead of a smooth one.
- Let the mixture rest before adding chocolate: That 5-minute rest is crucial. It allows the boiling liquid to cool just enough so the chocolate melts gently without burning. If you add the chocolate to a violently hot liquid, it can split and become greasy.
- Beat with purpose: The final beating step is where the magic happens. You must beat until the mixture loses its shine and becomes thick and matte. If you stop too soon, your fudge will never set properly. It should feel heavy and difficult to stir.
- Cut with a hot knife: For clean, professional-looking squares, run a large chef’s knife under hot water, dry it, and then slice through the fudge. Wipe the blade clean between each cut. This prevents the fudge from cracking or sticking to the blade.
Equipment You’ll Need
- 20cm square baking tin
- Baking parchment
- Large, heavy-bottomed saucepan
- Sugar thermometer
- Wooden spoon
- Sharp knife and cutting board
- Measuring jug
Common Mistakes to Avoid
- Overcrowding the pan: Do not double the recipe in a pan that is too small. The mixture needs room to boil and bubble without spilling over. A larger pan allows for a steady, even boil and prevents the temperature from becoming erratic.
- Wrong temperature: If you do not use a thermometer, you are gambling. If the mixture is undercooked (below 115°C), the fudge will be too soft and sticky. If it is overcooked (above 118°C), it will be dry and crumbly. The window of perfection is just a few degrees.
- Skipping the rest time: The 5-minute rest after boiling is not just a pause. It allows the intense heat to dissipate. If you skip this, the chocolate will seize immediately and unevenly, creating a grainy, lumpy texture that cannot be fixed.
Delicious Variations to Try
- Spicy Version: Add ½ teaspoon of cayenne pepper and 1 teaspoon of ground cinnamon to the sugar mixture before boiling. The heat provides a lovely warmth that lingers after the sweetness.
- Vegetarian/Vegan Option: This recipe is naturally vegetarian. For a vegan version, use a good-quality block of vegan dark chocolate and substitute the butter with a solid coconut oil or a vegan butter block. Use full-fat coconut milk instead of evaporated milk.
- Different Protein: Swap the hazelnuts for salted peanuts or toasted almonds. For a completely different texture, fold through 100g of crushed, honey-roasted peanuts for a salty-sweet crunch.
What to Serve With Homemade Fudge
- A strong, black coffee to cut through the sweetness.
- A glass of cold milk for a classic pairing.
- Crumbled over a bowl of vanilla ice cream for an instant sundae.
- Alongside a plate of fresh berries for a light, tart contrast.
Frequently Asked Questions
Homemade Fudge
Ingredients
Method
- Prepare your tin. Line a 20cm square baking tin with baking parchment, leaving an overhang on two opposite sides. This will act as handles to lift the fudge out later.
- Start the base. Place the caster sugar, cubed butter, evaporated milk, and golden syrup into a large, heavy-bottomed saucepan. Set it over a low heat. Smell: A sweet, buttery aroma will begin to fill your kitchen. Look: The butter will slowly melt into a pale, sandy liquid.
- Dissolve the sugar. Stir gently with a wooden spoon until the sugar has completely dissolved. You should not hear any gritty sound when you stir against the bottom of the pan. This takes about 5 minutes of patient, low heat.
- Bring to the boil. Increase the heat to medium and bring the mixture to a gentle, rolling boil. Clip a sugar thermometer to the side of the pan. Sound: The quiet simmer will become a louder, more active bubbling. Look: The liquid will become thick and frothy.
- Cook to the soft-ball stage. Continue to boil, without stirring, until the thermometer reads 115°C (soft-ball stage). Look: The bubbles will become smaller and the mixture will darken to a light caramel colour. This takes about 10–12 minutes. Do not walk away; the temperature can rise quickly.
- Cool the mixture. Remove the pan from the heat immediately. Add the sea salt and vanilla extract, but do not stir. Let the mixture sit untouched for exactly 5 minutes. Look: The surface will become still and glossy.
- Add the chocolate and beat. Tip the chopped dark and milk chocolate into the pan. Begin to stir gently in one direction. Look: The chocolate will melt into dark ribbons. Texture: As you stir, the mixture will change from a thin liquid to a thick, matte, and grainy paste. This is the fudge "seizing" — it is ready when it holds its shape on the spoon and looks dull, not shiny.
- Fold in extras and set. Quickly fold through the toasted hazelnuts. If using white chocolate chips, dot them on top and swirl gently with a knife. Pour the thick fudge into the prepared tin and spread it into an even layer. Sound: You will hear a soft, squelching sound as you press it into the corners. Leave to set at room temperature for at least 2 hours, or overnight for a cleaner cut.
Notes
I hope this becomes a cherished part of your weekend routine, just as it has in my home. If you give it a go, I would love to hear how your fudge turned out in the comments below. For more sweet treats, have a browse through our desserts collection, or try a savoury classic like our Classic Beef Empanadas for a change of pace. Happy cooking!