Garlic Butter Lobster Tails
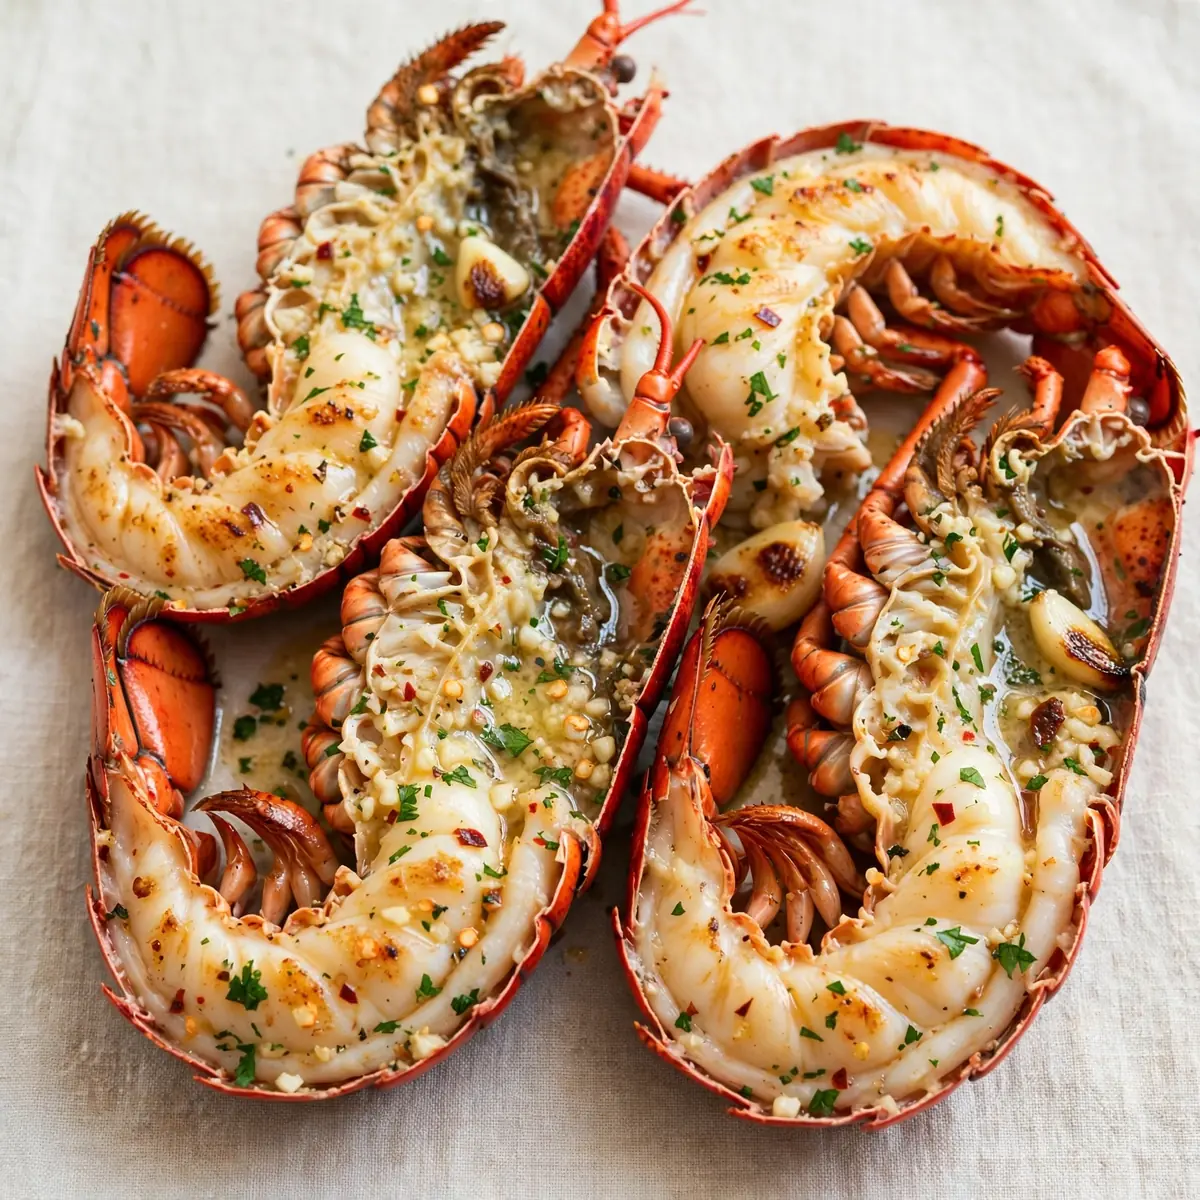
There’s a certain magic to a Saturday afternoon when the rain taps gently at the kitchen window and the only agenda is to cook something truly special. I pull out the lobster tails, unwrap the butter, and let the slow, deliberate rhythm of prepping ingredients wash away the week’s chaos. This isn’t about showing off; it’s about sinking into the process, letting the rich aroma of garlic and butter fill the house, and creating a meal that feels like a warm hug at the end of the day.
Recipe Overview
- Prep Time: 15 minutes
- Cook Time: 12-15 minutes
- Total Time: 30 minutes
- Servings: 2 generous servings
- Difficulty: Medium (requires some careful knife work)
Why You’ll Love This Garlic Butter Lobster Tails
- Restaurant quality at home: You get that luxurious, buttery taste without the hefty bill or the need to dress up.
- A truly sensory experience: From the sizzle of the pan to the heady scent of garlic and the sight of perfectly opaque, pearly meat, every step is a delight.
- Surprisingly straightforward: While it looks impressive, the technique is simple and forgiving, perfect for a weekend cooking project.
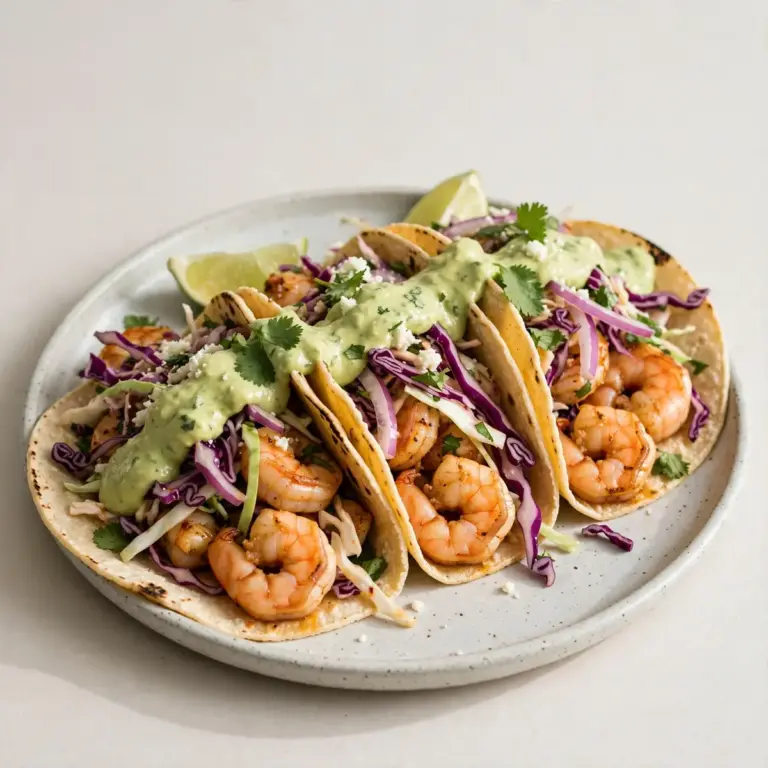
- Customisable to your taste: You can dial the garlic up or down, add a pinch of heat, or keep it pure and simple, just as you might customize the spice level in Shrimp Tacos With Avocado Cream.
- Guaranteed to impress: My husband, who’s usually picky, asked for seconds the first time I made this, and now he requests it for his birthday dinner every year.
Ingredients You’ll Need
- 2 large lobster tails (about 175-200g each), fresh or frozen (thawed completely)
- 4 tablespoons (60g) unsalted butter, softened
- 4 cloves garlic, minced very finely
- 1 tablespoon freshly squeezed lemon juice
- 1 teaspoon lemon zest
- ½ teaspoon smoked paprika
- ¼ teaspoon sea salt
- ⅛ teaspoon freshly ground black pepper
- 1 tablespoon finely chopped fresh parsley, plus extra for garnish
- 2 tablespoons extra virgin olive oil
- Lemon wedges, to serve
Tip: If using frozen lobster tails, thaw them overnight in the refrigerator. Avoid thawing them in the microwave, as this can begin to cook the delicate meat unevenly and affect the final texture.
How to Make Garlic Butter Lobster Tails
- Prepare the lobster tails: Using sharp kitchen shears, cut down the centre of the hard top shell, stopping just before the tail fan. Gently pry the shell open with your fingers. Carefully lift the meat up and out, keeping it attached at the very base of the tail. Rest the meat on top of the open shell. You should see the dark digestive tract running along the top of the meat; remove it with your fingers or a small knife. Rinse the tails under cold water and pat them dry with paper towels. You’ll feel the firm, slightly slippery texture of the raw meat.
- Make the garlic butter: In a small bowl, combine the softened unsalted butter, minced garlic, lemon juice, lemon zest, smoked paprika, salt, and pepper. Mash everything together with a fork until it’s a uniform, fragrant paste. The butter should be soft and spreadable, and you’ll smell the punchy, aromatic garlic immediately.
- Season the tails: Place the prepared lobster tails on a baking tray lined with foil. Brush the exposed meat lightly with the olive oil. Then, using a spoon or your fingers, generously spread the garlic butter mixture over the entire surface of the meat. Don’t be shy – the butter will melt and baste the lobster as it cooks, creating a luscious coating. The meat will look glossy and speckled with green parsley and golden garlic.
- Preheat the oven and sear: Preheat your oven to 200°C (400°F). While the oven is heating, place a large, oven-safe frying pan or skillet over a medium-high heat. Add a drizzle of olive oil. When the oil shimmers and a drop of water sizzles on contact, carefully place the lobster tails meat-side down in the hot pan. Sear for 2-3 minutes, until the butter begins to bubble and the meat develops a light golden-brown crust. You’ll hear a satisfying, steady sizzle and smell the butter browning.
- Finish in the oven: Carefully flip the tails over so the shell side is down. Transfer the entire pan to the preheated oven. Roast for 6-8 minutes, depending on the size of your tails. The flesh should be opaque and pearly white, and it will feel firm to the touch but still springy when pressed. The internal temperature should reach 60°C (140°F). My kids absolutely devour this every time I make it, and this is the stage where the kitchen smells absolutely incredible – a warm, buttery, garlicky cloud.
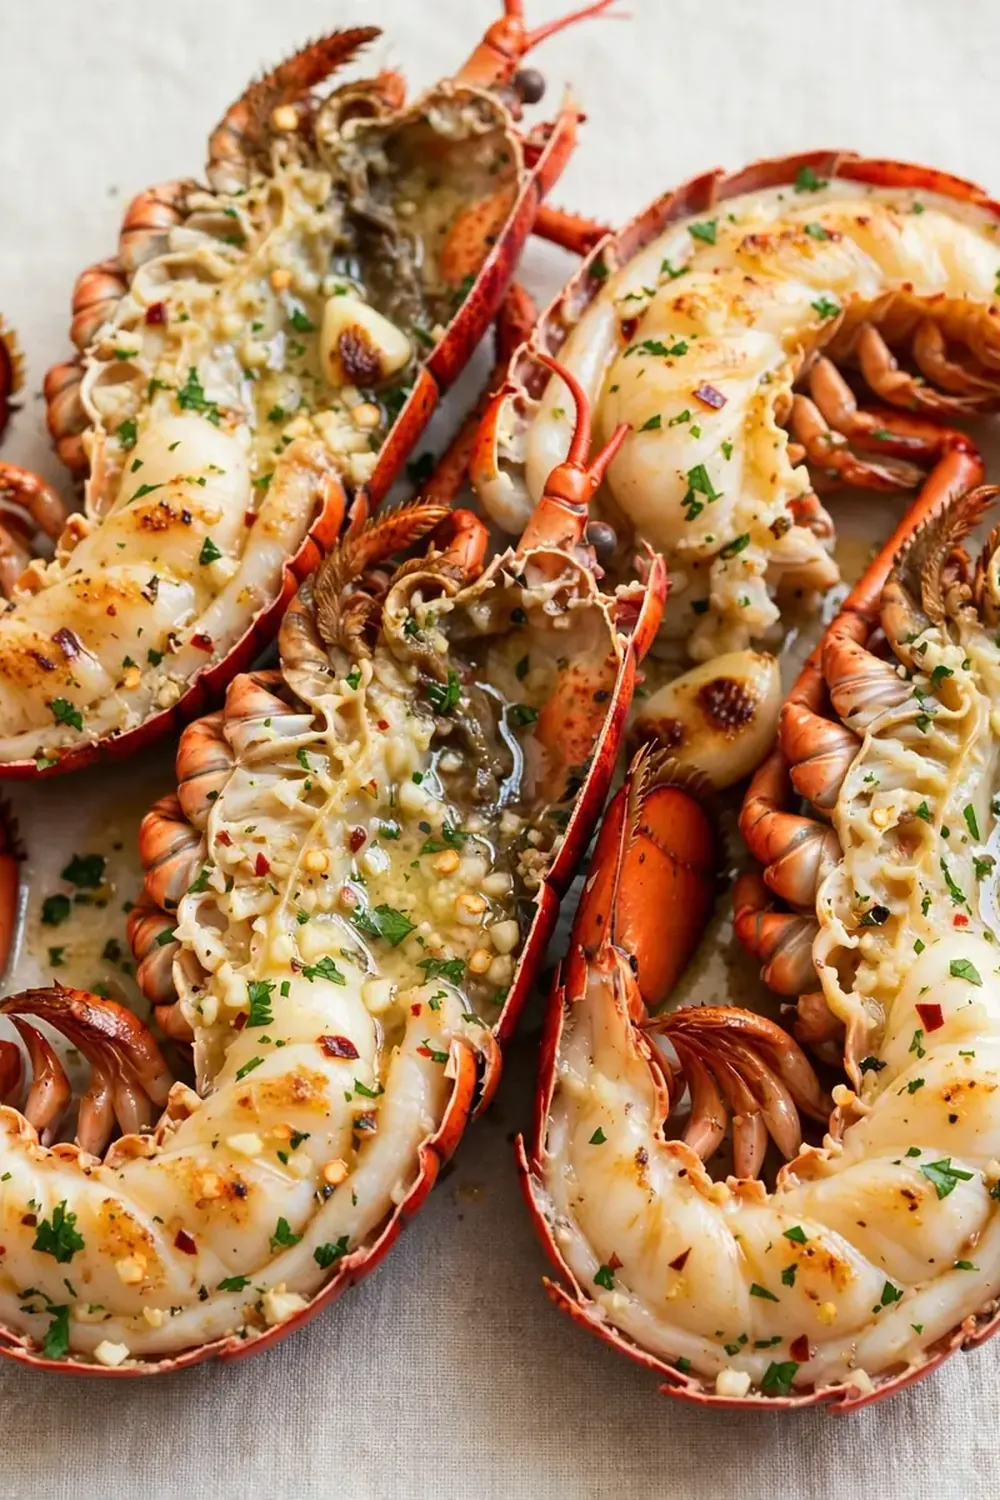
- Rest and serve: Remove the pan from the oven and let the lobster tails rest for 2-3 minutes. This allows the juices to redistribute, ensuring the meat stays succulent. Sprinkle with fresh parsley and serve immediately with lemon wedges on the side. The final dish should be vibrant, with bright green parsley, glossy butter, and pure white lobster meat.
Tips From My Kitchen
- Don’t skip the sear: Searing the meat in the pan before roasting creates a beautiful, caramelised crust that adds a layer of nutty flavour. It’s a quick step that makes a huge difference to the final taste and texture, preventing the meat from becoming just steamed.
- Use room-temperature butter: Cold butter will not spread evenly over the lobster meat. Let the butter sit out for 15-20 minutes before you start. This ensures it creates a smooth, even paste that coats every crevice, leading to a more consistent flavour in every bite.
- Watch the cooking time closely: Overcooked lobster becomes tough and rubbery. It’s better to err on the side of slightly undercooked, as it will continue to cook from residual heat while it rests. The meat should be just opaque in the centre.
- Get your garlic right: Mince the garlic as finely as you can. Larger pieces can burn in the pan or in the oven, turning bitter. A microplane or a very sharp knife is your best friend here for a fine, even mince that melts into the butter.
- Let the tails rest: This is crucial for any protein. Resting allows the muscle fibres to relax and reabsorb the juices, ensuring every mouthful is moist and tender, not dry and stringy. A short 2-3 minute rest makes all the difference.
Equipment You’ll Need
- Large frying pan or skillet (oven-safe)
- Sharp kitchen shears
- Sharp knife and cutting board
- Mixing bowls (small and medium)
- Wooden spoon or spatula
- Baking tray
- Aluminium foil
- Instant-read thermometer (optional, but recommended)
Common Mistakes to Avoid
- Overcrowding the pan: If you are cooking more than two tails, do them in batches in the pan. Overcrowding traps steam instead of allowing for a good sear. The tails need direct contact with the hot pan to develop that golden crust. If you’re making a large batch, sear them in batches and then transfer them all to the oven on a single baking tray.
- Wrong temperature: A pan that isn’t hot enough will cause the lobster to steam rather than sear, resulting in pale, soft meat. Ensure the oil shimmers before adding the tails. Conversely, an oven that’s too hot will cook the outside before the inside is done. Stick to 200°C (400°F) for a perfectly balanced cook.
- Skipping the rest time: Serving the lobster immediately out of the oven is a common mistake. Without resting, the juices will run out onto the plate as soon as you cut into the meat, leaving it dry. Those few minutes of patience are what separate a good dish from a great one.
Delicious Variations to Try
- Spicy Version: Add ½ teaspoon of red pepper flakes or a finely chopped fresh red chilli to the garlic butter mixture. The gentle heat cuts through the richness of the butter beautifully and adds a lovely warmth.
- Vegetarian/Vegan Option: For a plant-based twist, substitute the lobster with large king oyster mushrooms. Slice the mushroom stems lengthwise into thick ‘steaks’, score them, and prepare the garlic butter using a high-quality vegan butter. The meaty texture of the mushrooms is an excellent canvas for the flavours.
- Different Protein: This garlic butter works wonderfully with large prawns or jumbo shrimp. Simply peel and devein them, then follow the same method of searing and roasting, but reduce the oven time to 4-5 minutes until they are pink and curled. You could also use it for a whole roasted fish, like sea bass.
What to Serve With Garlic Butter Lobster Tails
To make a truly satisfying meal, serve these rich, buttery tails with sides that can soak up all the delicious sauce. A pile of creamy mashed potatoes is a classic choice, or you could opt for a lighter, tangy side like a crisp green salad with a lemony vinaigrette. For something more substantial, try a bed of herbed rice or some crusty bread for dipping. I often pair it with a side of roasted asparagus or green beans to add a fresh, vibrant element to the plate. For a true Southern-style feast, you could even serve it alongside a portion of Classic Mac And Cheese Southern Style for the ultimate comfort food combination.
Still hungry for ideas? You might also love Lobster Ravioli In Garlic Butter Sauce, Cheesy Garlic Butter Bombs Recipe Appetizer from our sister kitchens.
Frequently Asked Questions
Garlic Butter Lobster Tails
Ingredients
Method
-
Prepare the lobster tails: Using sharp kitchen shears, cut down the centre of the hard top shell, stopping just before the tail fan. Gently pry the shell open with your fingers. Carefully lift the meat up and out, keeping it attached at the very base of the tail. Rest the meat on top of the open shell. You should see the dark digestive tract running along the top of the meat; remove it with your fingers or a small knife. Rinse the tails under cold water and pat them dry with paper towels. You’ll feel the firm, slightly slippery texture of the raw meat.
-
Make the garlic butter: In a small bowl, combine the softened unsalted butter, minced garlic, lemon juice, lemon zest, smoked paprika, salt, and pepper. Mash everything together with a fork until it’s a uniform, fragrant paste. The butter should be soft and spreadable, and you’ll smell the punchy, aromatic garlic immediately.
-
Season the tails: Place the prepared lobster tails on a baking tray lined with foil. Brush the exposed meat lightly with the olive oil. Then, using a spoon or your fingers, generously spread the garlic butter mixture over the entire surface of the meat. Don’t be shy – the butter will melt and baste the lobster as it cooks, creating a luscious coating. The meat will look glossy and speckled with green parsley and golden garlic.
-
Preheat the oven and sear: Preheat your oven to 200°C (400°F). While the oven is heating, place a large, oven-safe frying pan or skillet over a medium-high heat. Add a drizzle of olive oil. When the oil shimmers and a drop of water sizzles on contact, carefully place the lobster tails meat-side down in the hot pan. Sear for 2-3 minutes, until the butter begins to bubble and the meat develops a light golden-brown crust. You’ll hear a satisfying, steady sizzle and smell the butter browning.
-
Finish in the oven: Carefully flip the tails over so the shell side is down. Transfer the entire pan to the preheated oven. Roast for 6-8 minutes, depending on the size of your tails. The flesh should be opaque and pearly white, and it will feel firm to the touch but still springy when pressed. The internal temperature should reach 60°C (140°F). My kids absolutely devour this every time I make it, and this is the stage where the kitchen smells absolutely incredible – a warm, buttery, garlicky cloud.
-
Rest and serve: Remove the pan from the oven and let the lobster tails rest for 2-3 minutes. This allows the juices to redistribute, ensuring the meat stays succulent. Sprinkle with fresh parsley and serve immediately with lemon wedges on the side. The final dish should be vibrant, with bright green parsley, glossy butter, and pure white lobster meat.
Notes
There you have it – a cosy weekend project that rewards you with a plate of pure, buttery indulgence. It’s about the quiet joy of cooking, the wonderful aromas that fill your home, and the simple pleasure of sharing a beautiful meal. I’d love to hear how yours turn out. What sides did you choose? Did you try any of the variations? Let me know in the comments below. Happy cooking, and don’t forget to explore more comforting recipes over at Dailydish.Online.