Classic Deviled Eggs
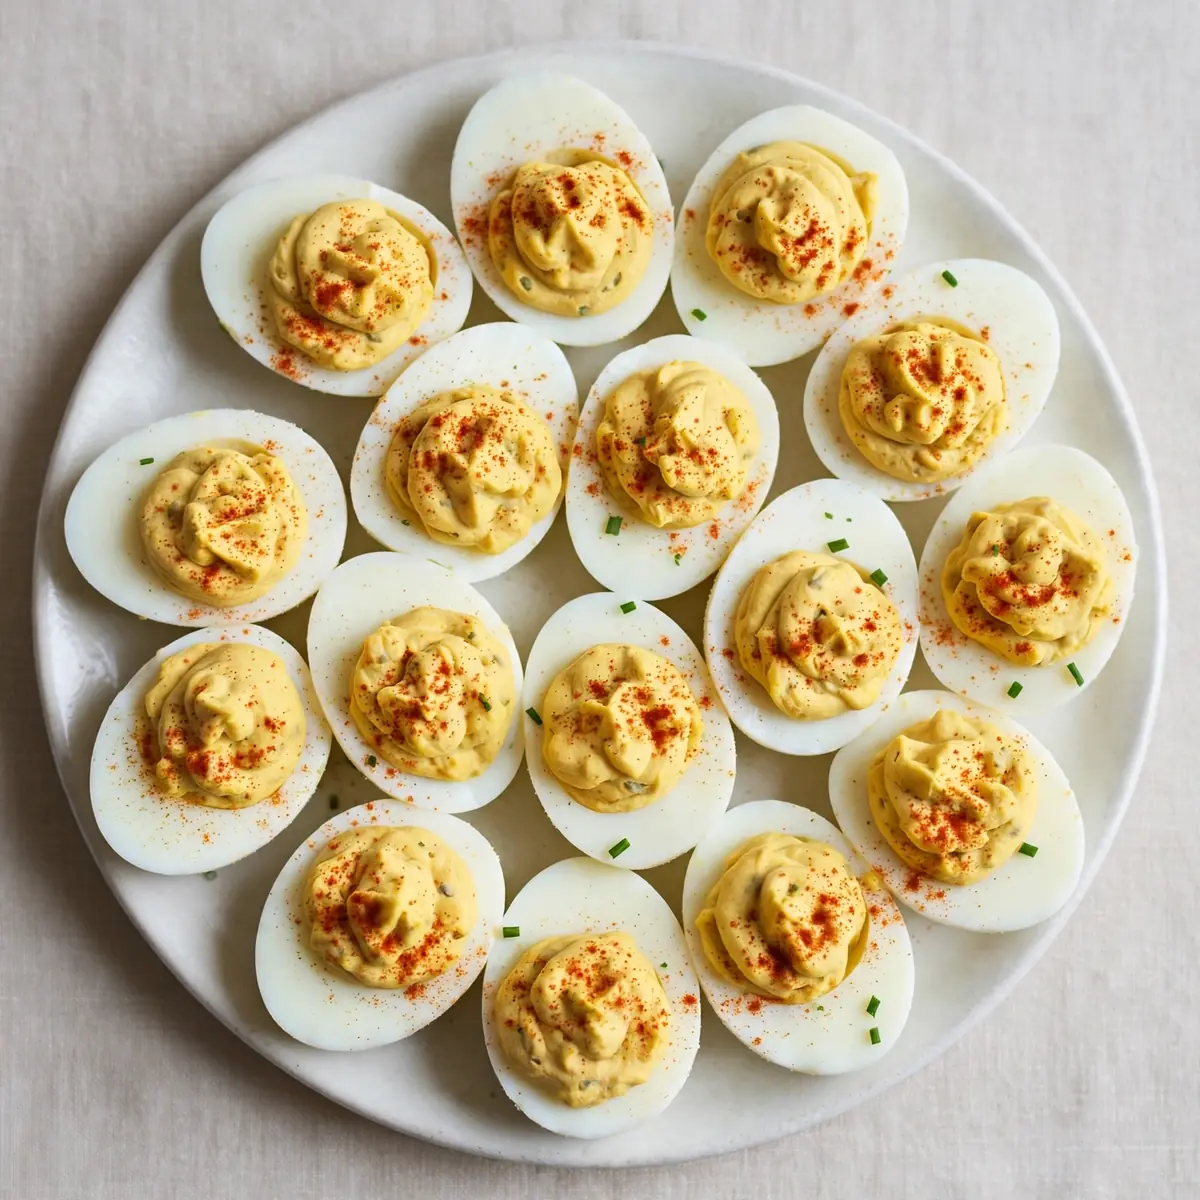
There is something deeply satisfying about a Saturday afternoon spent deliberately, methodically preparing a tray of Classic Deviled Eggs, the quiet hum of the kitchen and the gentle scent of simmering eggs filling the house as the weekend stretches out ahead. This is not a recipe for rushing; it is a project for slowing down, for sinking into the sensory rhythm of boiling, peeling, mashing, and piping, with the reward of a plate of perfectly creamy, tangy bites waiting at the end.
Recipe Overview
- Prep Time: 20 minutes
- Cook Time: 12 minutes
- Total Time: 1 hour 20 minutes (includes cooling time)
- Servings: 12 deviled egg halves
- Difficulty: Easy
Why You’ll Love This Classic Deviled Eggs
- The velvety texture: The filling becomes impossibly smooth and luscious, a proper comfort for the soul.
- A proper weekend ritual: This recipe asks you to take your time, to listen to the water boil, and to enjoy the process as much as the eating.
- Balanced, savoury flavour: The tang of good mustard and the gentle heat of paprika work in perfect harmony with the rich yolk.
- No fussy equipment needed: You likely already have everything in your kitchen drawers and cupboards.
- Endlessly adaptable: Once you have this base down, you can tweak the seasoning to suit your own cravings.
Ingredients You’ll Need
- 6 large free-range eggs (the freshest you can find, ideally a few days old for easier peeling)
- 3 tablespoons good-quality mayonnaise (I use a full-fat one for the creamiest result)
- 1 teaspoon Dijon mustard
- ½ teaspoon white wine vinegar (or a squeeze of fresh lemon juice)
- ¼ teaspoon fine sea salt
- ⅛ teaspoon freshly ground black pepper
- Pinch of cayenne pepper (optional, for a gentle warmth)
- Paprika, for dusting (smoked or sweet, your choice)
- Fresh chives, finely snipped, for garnish
Tip: Let your eggs come to room temperature before boiling. It takes the chill off and helps prevent the shells from cracking when they hit the hot water, ensuring a smoother start to your cooking project.
How to Make Classic Deviled Eggs
- Place the eggs in a single layer in a saucepan and cover them with cold water by about 2.5 centimetres. Set the pan over a high heat and listen for the water to begin its first, tentative bubbles. As soon as you hear a gentle, rolling boil, cover the pan with a lid, turn off the heat entirely, and set a timer for exactly 10 minutes. The water will still be hot enough to cook the yolks through to a tender, fully set state.
- While the eggs cook, prepare an ice bath by filling a large bowl with cold water and a generous handful of ice cubes. When the timer sounds, immediately drain the hot water from the saucepan and carefully transfer the eggs into the ice bath using a slotted spoon. The shock of the cold water will halt the cooking process and keep those yolks a beautiful, sunny yellow rather than a greyish green.
- Let the eggs rest in the ice bath for at least 10 minutes, until they are completely cool to the touch. You will feel the shells become slightly brittle. To peel, gently tap each egg all over on the countertop, creating a fine web of cracks, then roll it between your palms to loosen the membrane. Starting from the wider, air-pocket end, peel the shell away under a thin stream of running water—the water helps slide the shell off cleanly.
- Using a sharp knife, slice each peeled egg in half lengthways. You will see the yolk, a perfect dome of deep gold, sitting in its white cradle. Gently pop the yolks out into a medium mixing bowl, arranging the hollowed egg white halves on a serving platter as you go.
- Mash the yolks with a fork until they resemble fine, dry crumbs. There should be no large lumps remaining. Add the mayonnaise, Dijon mustard, white wine vinegar, salt, pepper, and the optional pinch of cayenne. Stir the mixture vigorously with the fork until it transforms into a smooth, thick, and glossy paste. Taste a tiny bit—the flavours should be bright and savoury, with the vinegar cutting through the richness.
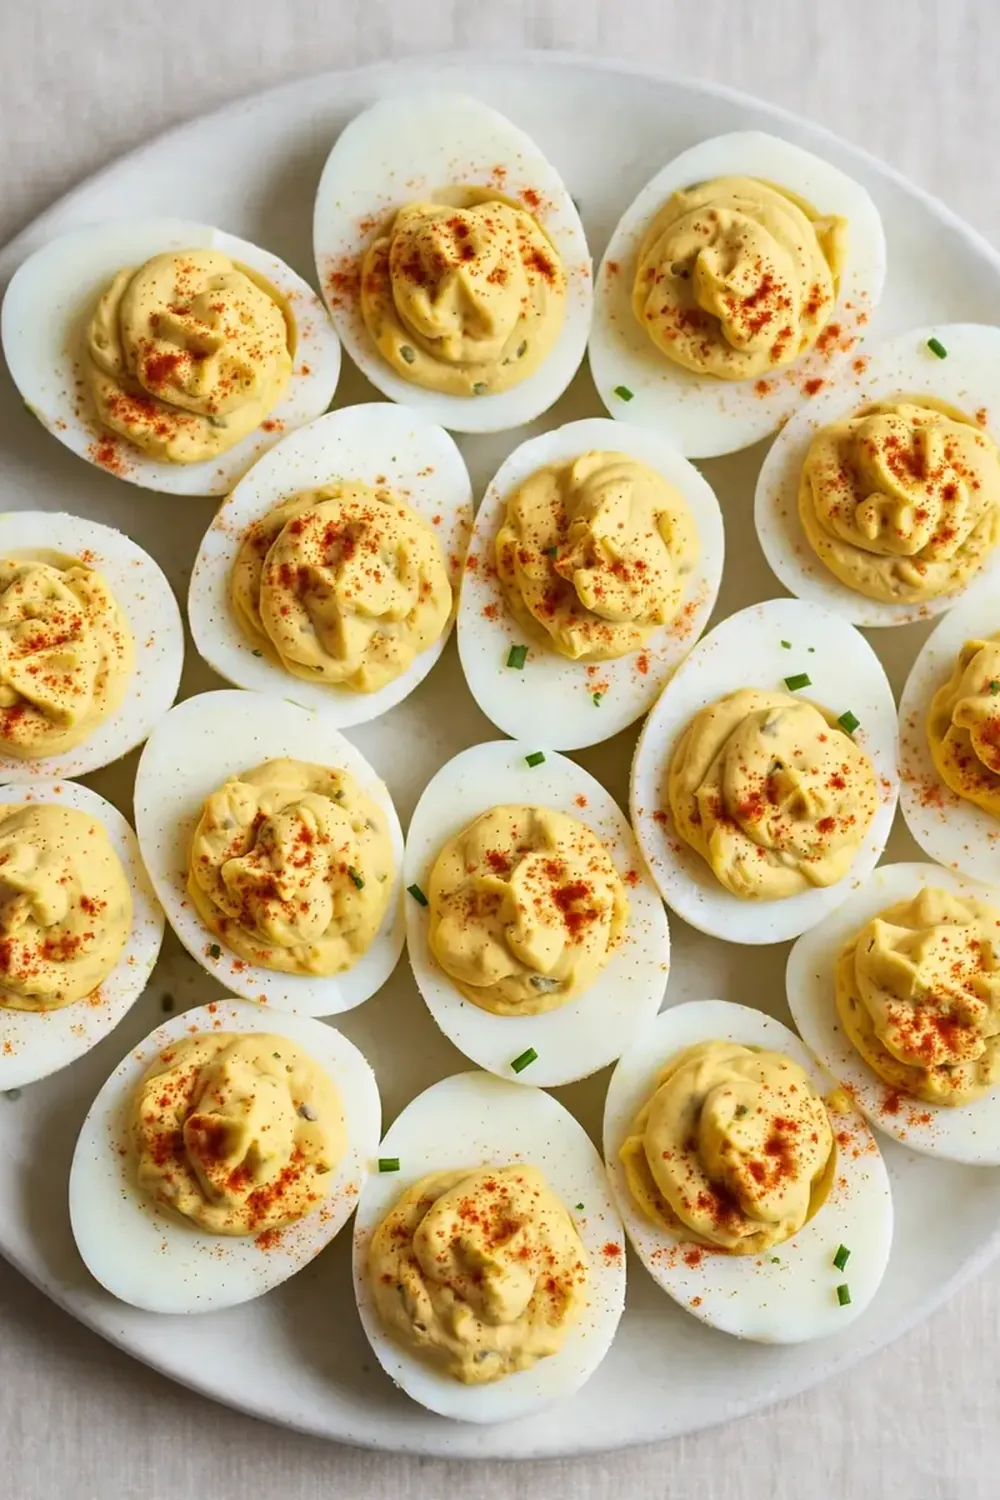
- For the most elegant finish, spoon the yolk mixture into a piping bag fitted with a large star nozzle. If you do not have a piping bag, a sturdy zip-top bag with a tiny corner snipped off works beautifully. Pipe the filling into the centre of each egg white half, creating a generous, swirling rosette that rises above the rim. You should hear a soft, satisfying squelch as the filling settles into place.
- Finally, dust the tops of the filled eggs lightly with paprika, using a fine-mesh sieve for an even, delicate coating. Scatter the snipped chives over the top. The bright green against the red-speckled yellow is a small, beautiful detail. Cover the platter loosely with cling film and refrigerate for at least 30 minutes before serving to let the flavours settle and meld together.
Tips From My Kitchen
- Use older eggs for peeling: Fresh eggs are notoriously difficult to peel because the inner membrane clings tightly to the shell. Eggs that have been in the fridge for 7 to 10 days have a slightly higher pH, which loosens that bond. I’ve found this single tip saves me from the frustration of pockmarked whites more than any boiling trick.
- Do not over-boil the eggs: A yolk that is cooked for too long develops a greenish-grey ring around the outside and a crumbly, dry texture. The 10-minute off-heat method yields a yolk that is fully set but still moist and creamy, which is exactly what we want for a smooth filling. Trust the residual heat.
- Let the filling rest before piping: After you have mixed the yolks and mayonnaise, cover the bowl and pop it in the fridge for 15 minutes. This short chill firms up the mixture slightly, making it much easier to pipe into neat, tall swirls that hold their shape rather than collapsing into a flat puddle on the white.
- Season the whites lightly: Before you fill them, give the empty egg white halves a tiny dusting of salt and pepper. This small step prevents the plain, bland contrast between the seasoned yolk and the unseasoned white, making every single bite perfectly balanced from edge to centre.
- Pipe with confidence: Do not be timid with the filling. Start the pressure from the centre of the egg white and work your way outwards in a spiral, lifting the nozzle straight up at the end. A generous, tall swirl looks far more inviting and luxurious than a small, flat dollop.
Equipment You’ll Need
- A medium saucepan with a tight-fitting lid
- A large bowl for the ice bath
- A sharp chef’s knife and a cutting board
- A medium mixing bowl and a fork
- A piping bag with a star nozzle (or a sturdy zip-top bag)
- A fine-mesh sieve for dusting the paprika
- A serving platter
What to Serve With Classic Deviled Eggs
- A crisp, green salad with a simple vinaigrette to cut through the richness.
- A bowl of Beef And Bean Chili Award Winning for a hearty, comforting weekend lunch.
- Thinly sliced crusty bread or toasted sourdough soldiers for scooping up any extra filling.
- A platter of other Appetizers like crudités and dips for a proper grazing spread.
- Cold, roasted vegetables such as asparagus or peppers, dressed with lemon and olive oil.
Still hungry for ideas? You might also love High Protein Deviled Eggs from our sister kitchens.
Frequently Asked Questions
Classic Deviled Eggs
Ingredients
Method
- Place the eggs in a single layer in a saucepan and cover them with cold water by about 2.5 centimetres. Set the pan over a high heat and listen for the water to begin its first, tentative bubbles. As soon as you hear a gentle, rolling boil, cover the pan with a lid, turn off the heat entirely, and set a timer for exactly 10 minutes. The water will still be hot enough to cook the yolks through to a tender, fully set state.
- While the eggs cook, prepare an ice bath by filling a large bowl with cold water and a generous handful of ice cubes. When the timer sounds, immediately drain the hot water from the saucepan and carefully transfer the eggs into the ice bath using a slotted spoon. The shock of the cold water will halt the cooking process and keep those yolks a beautiful, sunny yellow rather than a greyish green.
- Let the eggs rest in the ice bath for at least 10 minutes, until they are completely cool to the touch. You will feel the shells become slightly brittle. To peel, gently tap each egg all over on the countertop, creating a fine web of cracks, then roll it between your palms to loosen the membrane. Starting from the wider, air-pocket end, peel the shell away under a thin stream of running water—the water helps slide the shell off cleanly.
- Using a sharp knife, slice each peeled egg in half lengthways. You will see the yolk, a perfect dome of deep gold, sitting in its white cradle. Gently pop the yolks out into a medium mixing bowl, arranging the hollowed egg white halves on a serving platter as you go.
- Mash the yolks with a fork until they resemble fine, dry crumbs. There should be no large lumps remaining. Add the mayonnaise, Dijon mustard, white wine vinegar, salt, pepper, and the optional pinch of cayenne. Stir the mixture vigorously with the fork until it transforms into a smooth, thick, and glossy paste. Taste a tiny bit—the flavours should be bright and savoury, with the vinegar cutting through the richness.
- For the most elegant finish, spoon the yolk mixture into a piping bag fitted with a large star nozzle. If you do not have a piping bag, a sturdy zip-top bag with a tiny corner snipped off works beautifully. Pipe the filling into the centre of each egg white half, creating a generous, swirling rosette that rises above the rim. You should hear a soft, satisfying squelch as the filling settles into place.
- Finally, dust the tops of the filled eggs lightly with paprika, using a fine-mesh sieve for an even, delicate coating. Scatter the snipped chives over the top. The bright green against the red-speckled yellow is a small, beautiful detail. Cover the platter loosely with cling film and refrigerate for at least 30 minutes before serving to let the flavours settle and meld together.
Notes
I stumbled upon this combination by accident, and it has been a hit ever since — the quiet satisfaction of making these by hand is something I look forward to every weekend. I make this at least once a week for a family gathering or just for my own quiet enjoyment, and the ritual never grows old. Have you got a favourite twist on the classic filling, or a special memory of making these for someone you love? I would love to hear your stories and tips in the comments below.